There’s something unmistakably Los Angeles about summer by the pool. Maybe it’s the sound of palm trees moving in the breeze, the glow of golden hour bouncing off the water, or the way outdoor spaces become the center of everyday life this time of year. Around here, the pool is not just a place to cool off. It’s an extension of the home itself.
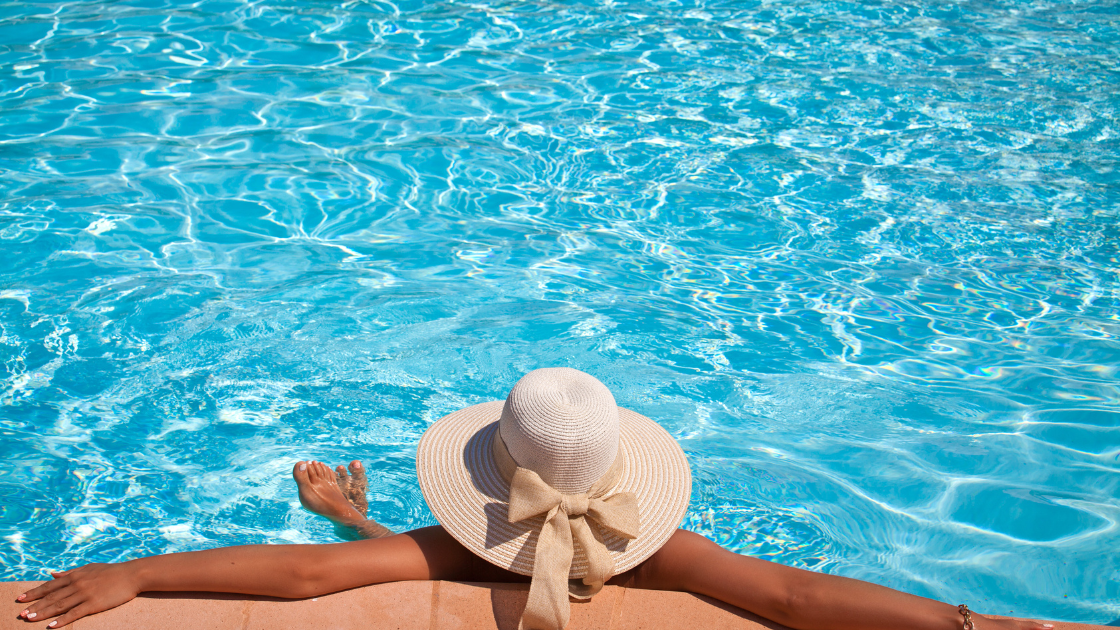
The best luxury outdoor spaces feel effortless, layered, and lived in without trying too hard. If you’re looking for fresh luxury pool design ideas this season, the focus should be less on overstyling and more on creating a space that feels relaxed, elevated, and ready for long afternoons outdoors.
Lean Into a Resort-Inspired Look

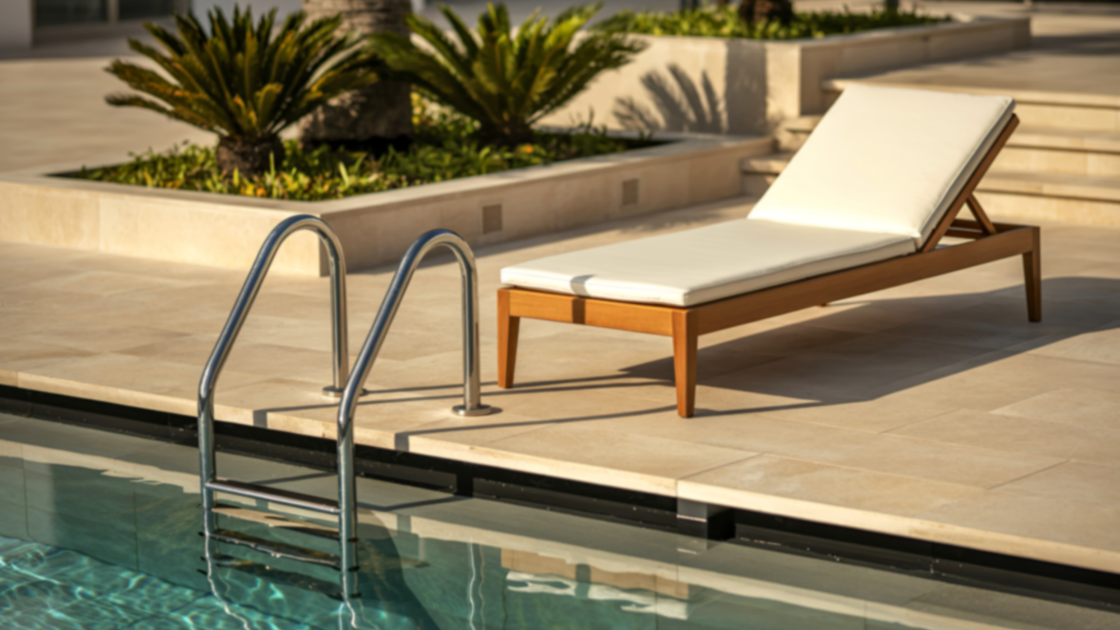
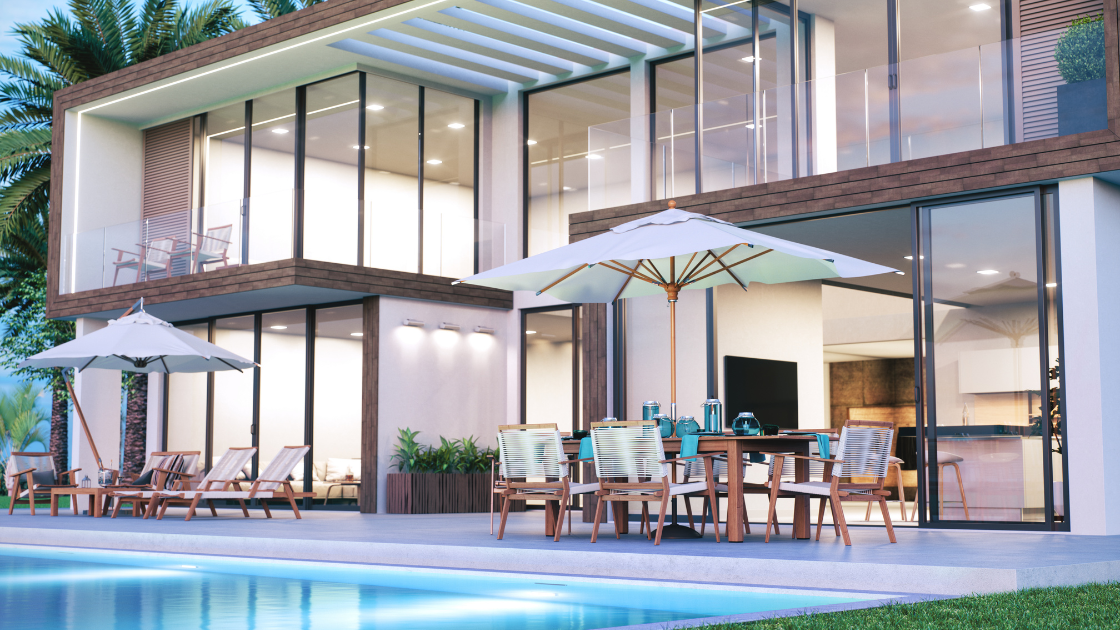
The easiest way to elevate your pool area is by thinking less “backyard” and more boutique hotel. Start with comfortable lounge seating that actually invites people to stay awhile. Oversized chaise loungers with plush neutral cushions instantly create a more refined atmosphere, especially when paired with teak, travertine, or natural wood finishes.
Umbrellas are another detail that can completely shift the mood of the space. Classic canvas styles in cream, sand, or faded olive tend to feel timeless and work beautifully with the softer palette many Los Angeles homes naturally lean toward.
Add Texture Through Materials
One of the most overlooked luxury pool design ideas is texture. A pool area can quickly feel cold or overly modern without the right balance of materials.
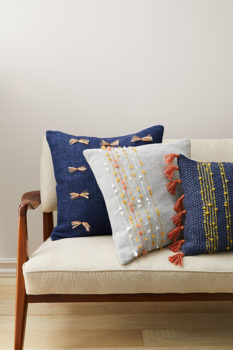
Layering in elements like linen outdoor pillows, woven lanterns, ceramic planters, or stone side tables softens the space and gives it character. Even a simple outdoor rug beneath a seating area can make everything feel more intentional.
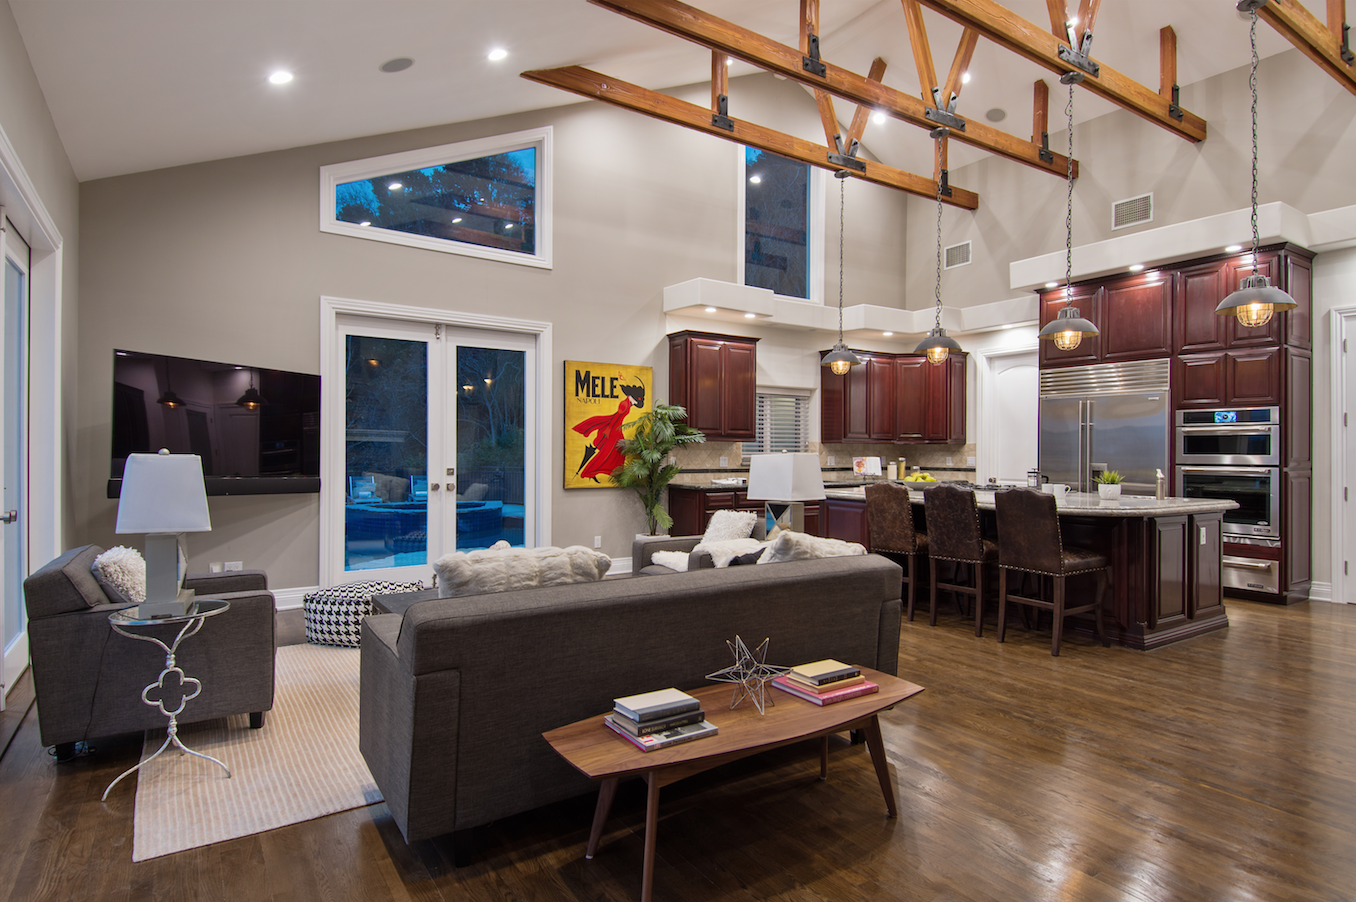
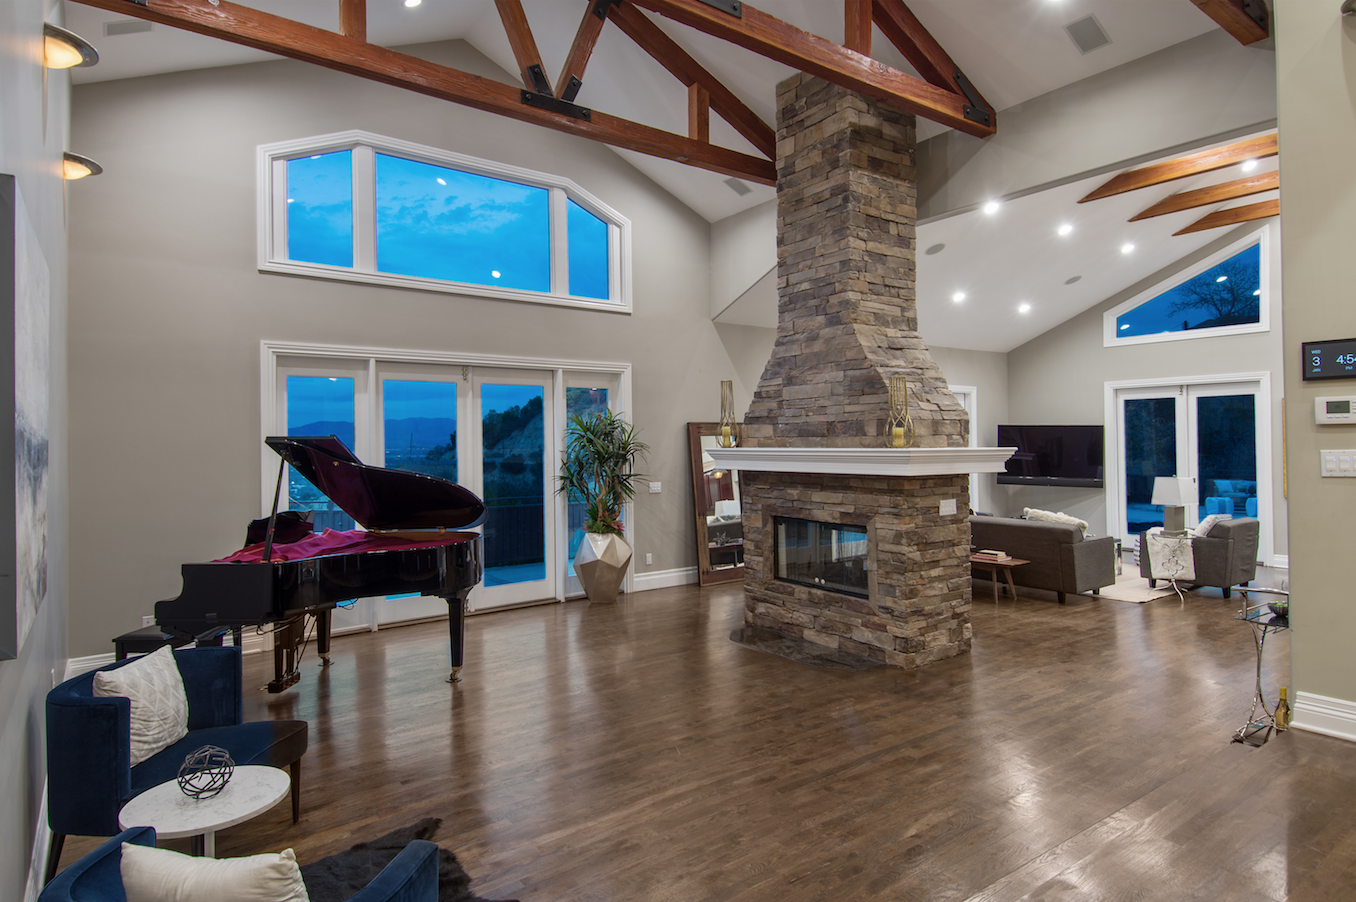
In Southern California, where indoor-outdoor living is part of the lifestyle, these details help create continuity between the home’s interior and exterior spaces.
Refresh Landscaping for Summer

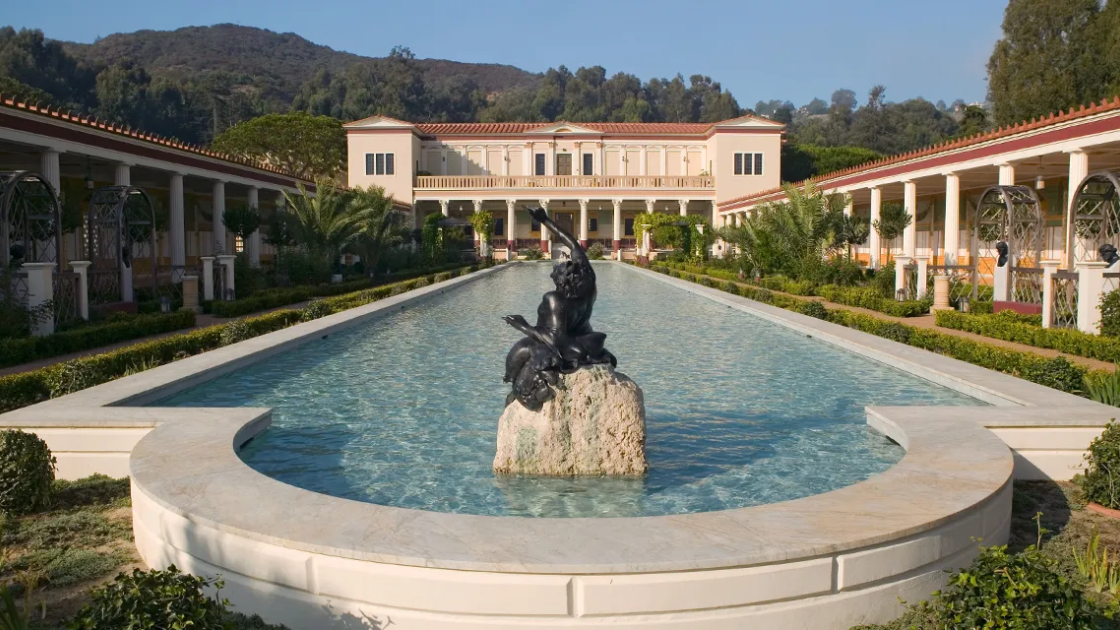
Nothing makes a pool feel more luxurious than surrounding it with thoughtful landscaping. The good news is that you don’t need overly tropical greenery to create impact.
Olive trees, lavender, agave, and tall ornamental grasses all work beautifully in Los Angeles ‘ climate while still feeling elevated and low-maintenance. The overall goal is to create softness around the hardscape without making the area feel crowded.
Large statement planters near lounge spaces or entry points also help frame the area and instantly make it feel more curated.
Create Spaces for Entertaining
The best poolside setups are designed for more than swimming. They’re built for gathering.
A small outdoor bar cart stocked with glassware, citrus, and chilled sparkling water adds an effortless entertaining element. If space allows, incorporate a dining area nearby with layered lighting for evening dinners outdoors.
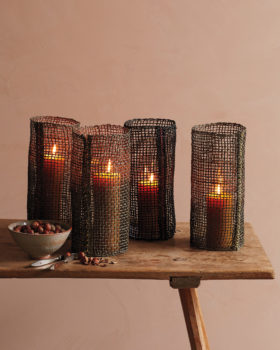
As the sun goes down, candles, lanterns, and subtle landscape lighting help the entire space transition naturally into nighttime entertaining without losing that laid-back California feel.
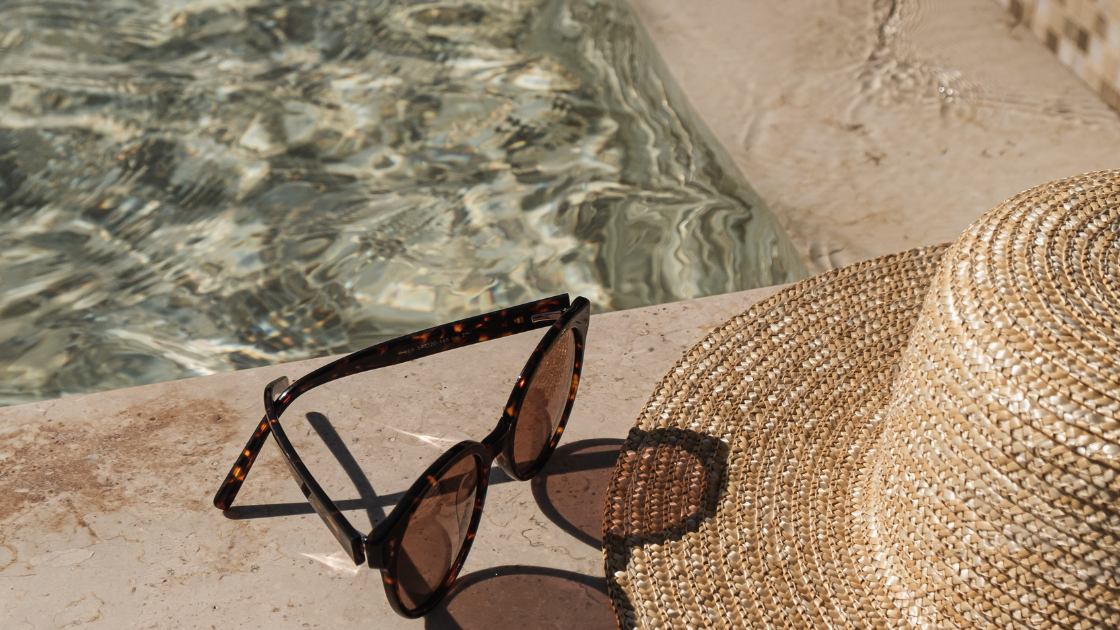
Keep the Palette Calm and Timeless

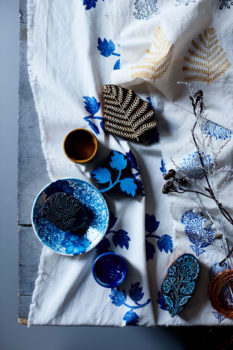
While summer is often associated with bright colors, most sophisticated pool spaces keep the palette restrained. Warm whites, sandy neutrals, soft sage, charcoal, and faded blues tend to age beautifully and allow the surrounding landscape to stand out.
The most successful luxury pool design ideas are the ones that feel personal rather than overly trend-driven. After all, Los Angeles summer living is less about perfection and more about atmosphere.
At the end of the day, a beautifully styled pool area should feel like an escape you never have to leave.

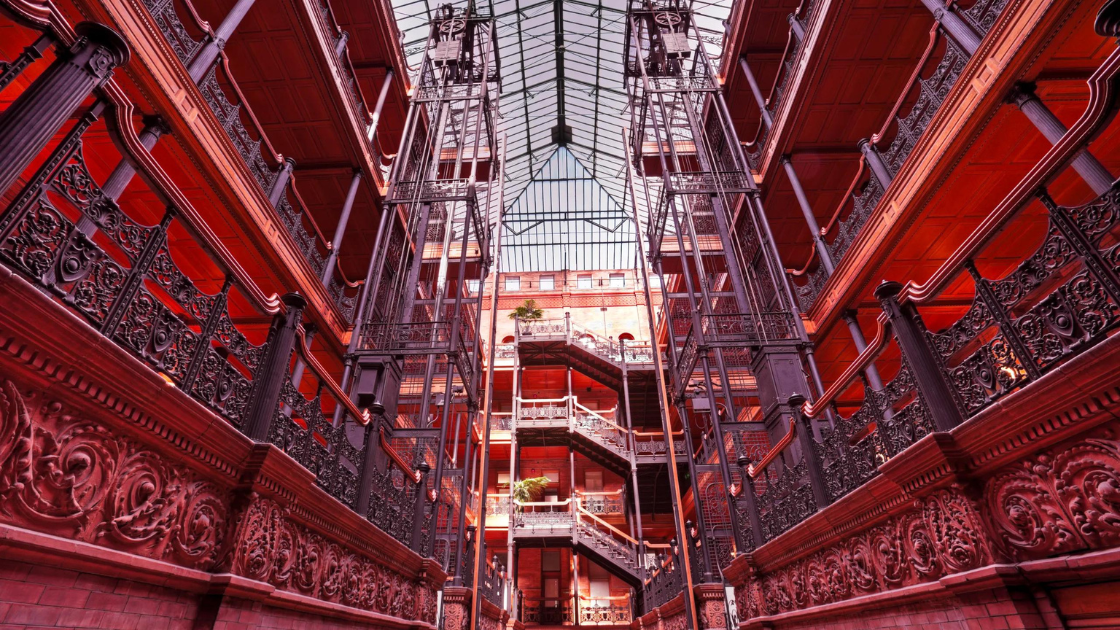 Completed in 1893, the Bradbury Building stands as one of Los Angeles’s most striking architectural landmarks. Its luminous interior, defined by intricate wrought-iron railings, marble staircases, and vintage open-cage elevators, feels suspended in time. Sunlight filters through the glass ceiling, casting dramatic shadows that have made it a sought-after filming location, including a memorable appearance in Blade Runner. Even today, stepping inside feels like entering a different era of the city’s design history.