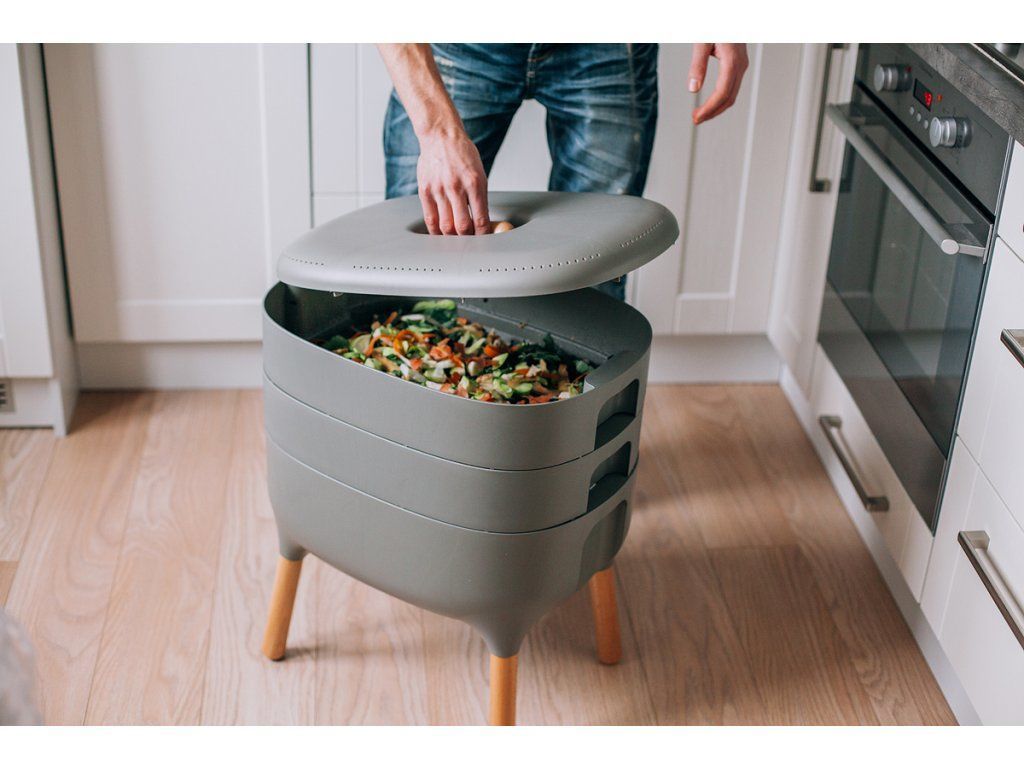
With spring not too far off, it is the perfect time to start some new at-home routines. With California leading the way in green initiatives, we’ve rounded up four simple composting tricks. These techniques will help you reduce waste and aide the environment. The bonus is with these DIY tips you don’t even need a yard to get started!
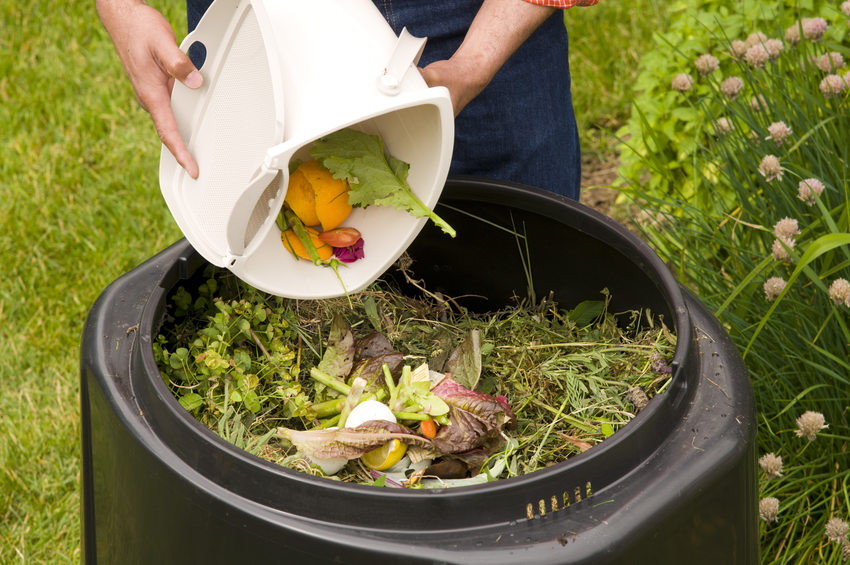
Composting is a great way to not only reduce how much you’re throwing in the garbage, but it can also keep your trash smell at bay, thanks to having less organic material in that bin. Not to mention how much your plants will love it; if you don’t have a full garden, your houseplants will be happy about it, too. Even city dwellers or anyone without a yard can do it—really!

Before you get started, think about the type of composting you want to do. Cold composting is easier: You simply take organic materials you’d normally throw away —coffee grounds, eggshells, fruit, and vegetable peels—and put them in a composting pile or bin (just don’t add meats, dairy, or fats). Over about a year, the materials will decompose. Hot composting is more complicated, and uses nitrogen and carbon-containing ingredients to speed up the process. Another option is vermicomposting, which is when you use special worms to help the process along.
Don’t let the fact that you don’t have much space hold you back from composting. With a little ingenuity, a proper compost bin can be created just about anywhere.
1. Make your own outdoor compost bin.
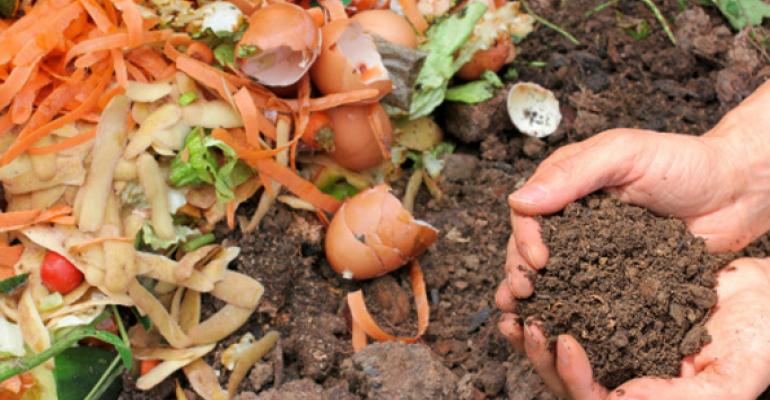
If you’ve got a spare trash can and a drill, you can turn that can into a composting can. You can also build your ownwith welded wire mesh, concrete blocks, or wooden pallets, and you can hide basically any bin behind a simple lattice fence. If you’ve got an outdoor bin, you can also throw in dry leaves, wood bark chips, and grass and plant clippings while you’re taking care of your yard. Make sure to water and stir your pile thoroughly.
2. Make your own indoor compost bin.
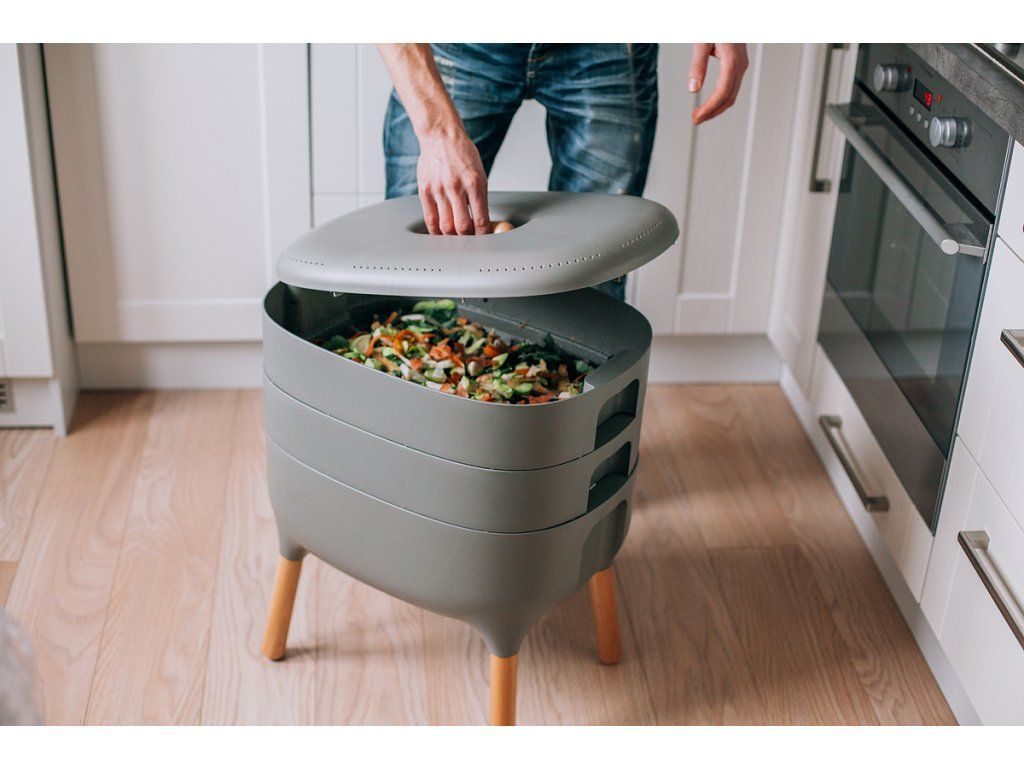
Much like how you hide your trash can in a pull-out cabinet or under your sink, you can hide a compost bin right in your own kitchen, too. Again, you’ll need a drill: Use it to drill holes in the bottom of a metal container with a lid, then place the container into a shallow tray with sides. Give this indoor bin a base layer of a little dirt, and top your food scraps with some damp shredded newspapers (the newspapers will help control smell!). Make sure to stir it every week or so, and keep it covered.
3. Make a worm bin system.

If you’re composting indoors and still worried about odors, vermicomposting is a great idea. You can’t just use any worms—you’ll need to purchase redworms online or at a garden supplier (about one pound per square foot in your bin). A vermicompost bin should also be kept in a cool, dark place. Start with a base of shredded newspaper or leaves mixed with soil, and get it damp, then add your worms and your food scraps. Vermicomposting is also a great option for beginners—if things get messed up, just dump out your bin outside and start over.
4. Check for community composting.
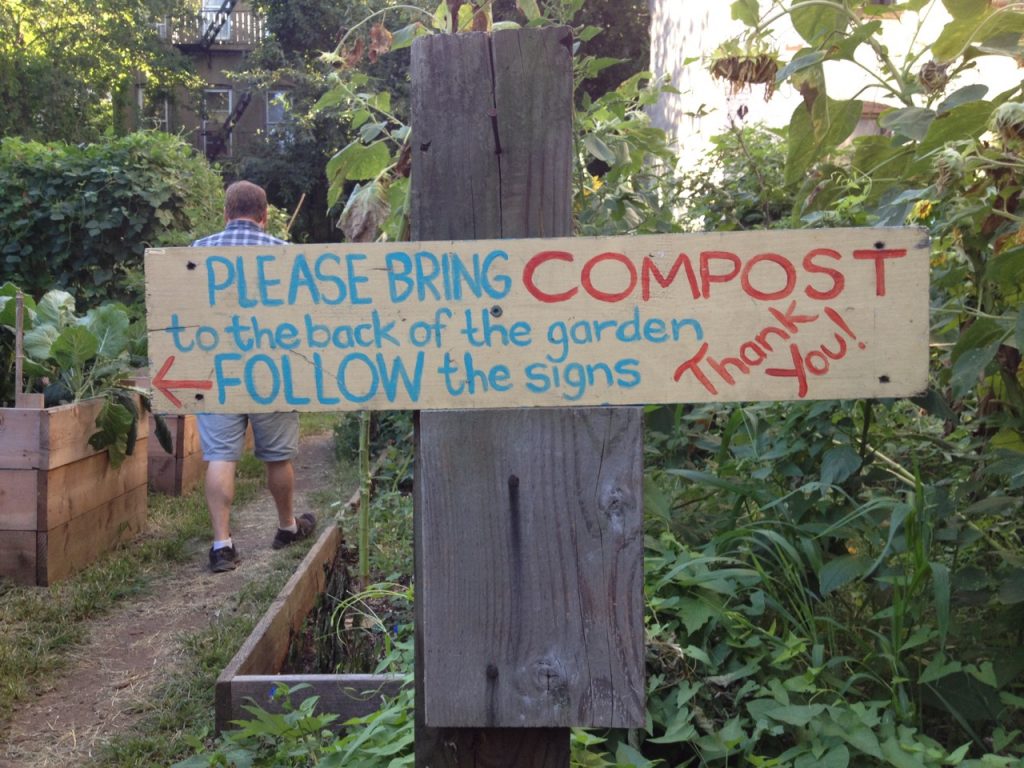
If you aren’t into making your own compost, or don’t have the space for it, check to see if your community has its own group composting area where you can drop off food waste. Your city hall might have details, or you can ask your neighbors or post your query on a community directory, like Nextdoor. Your community may even provide biodegradable bags to hold your scraps in between your visits to their composting center.
Your compost is ready when it’s not giving off any heat, and it’s become dry, brown, and crumbly. Use it to feed your garden or potted plants, and watch your plants live their best lives!
Courtesy of: Better Homes & Gardens
