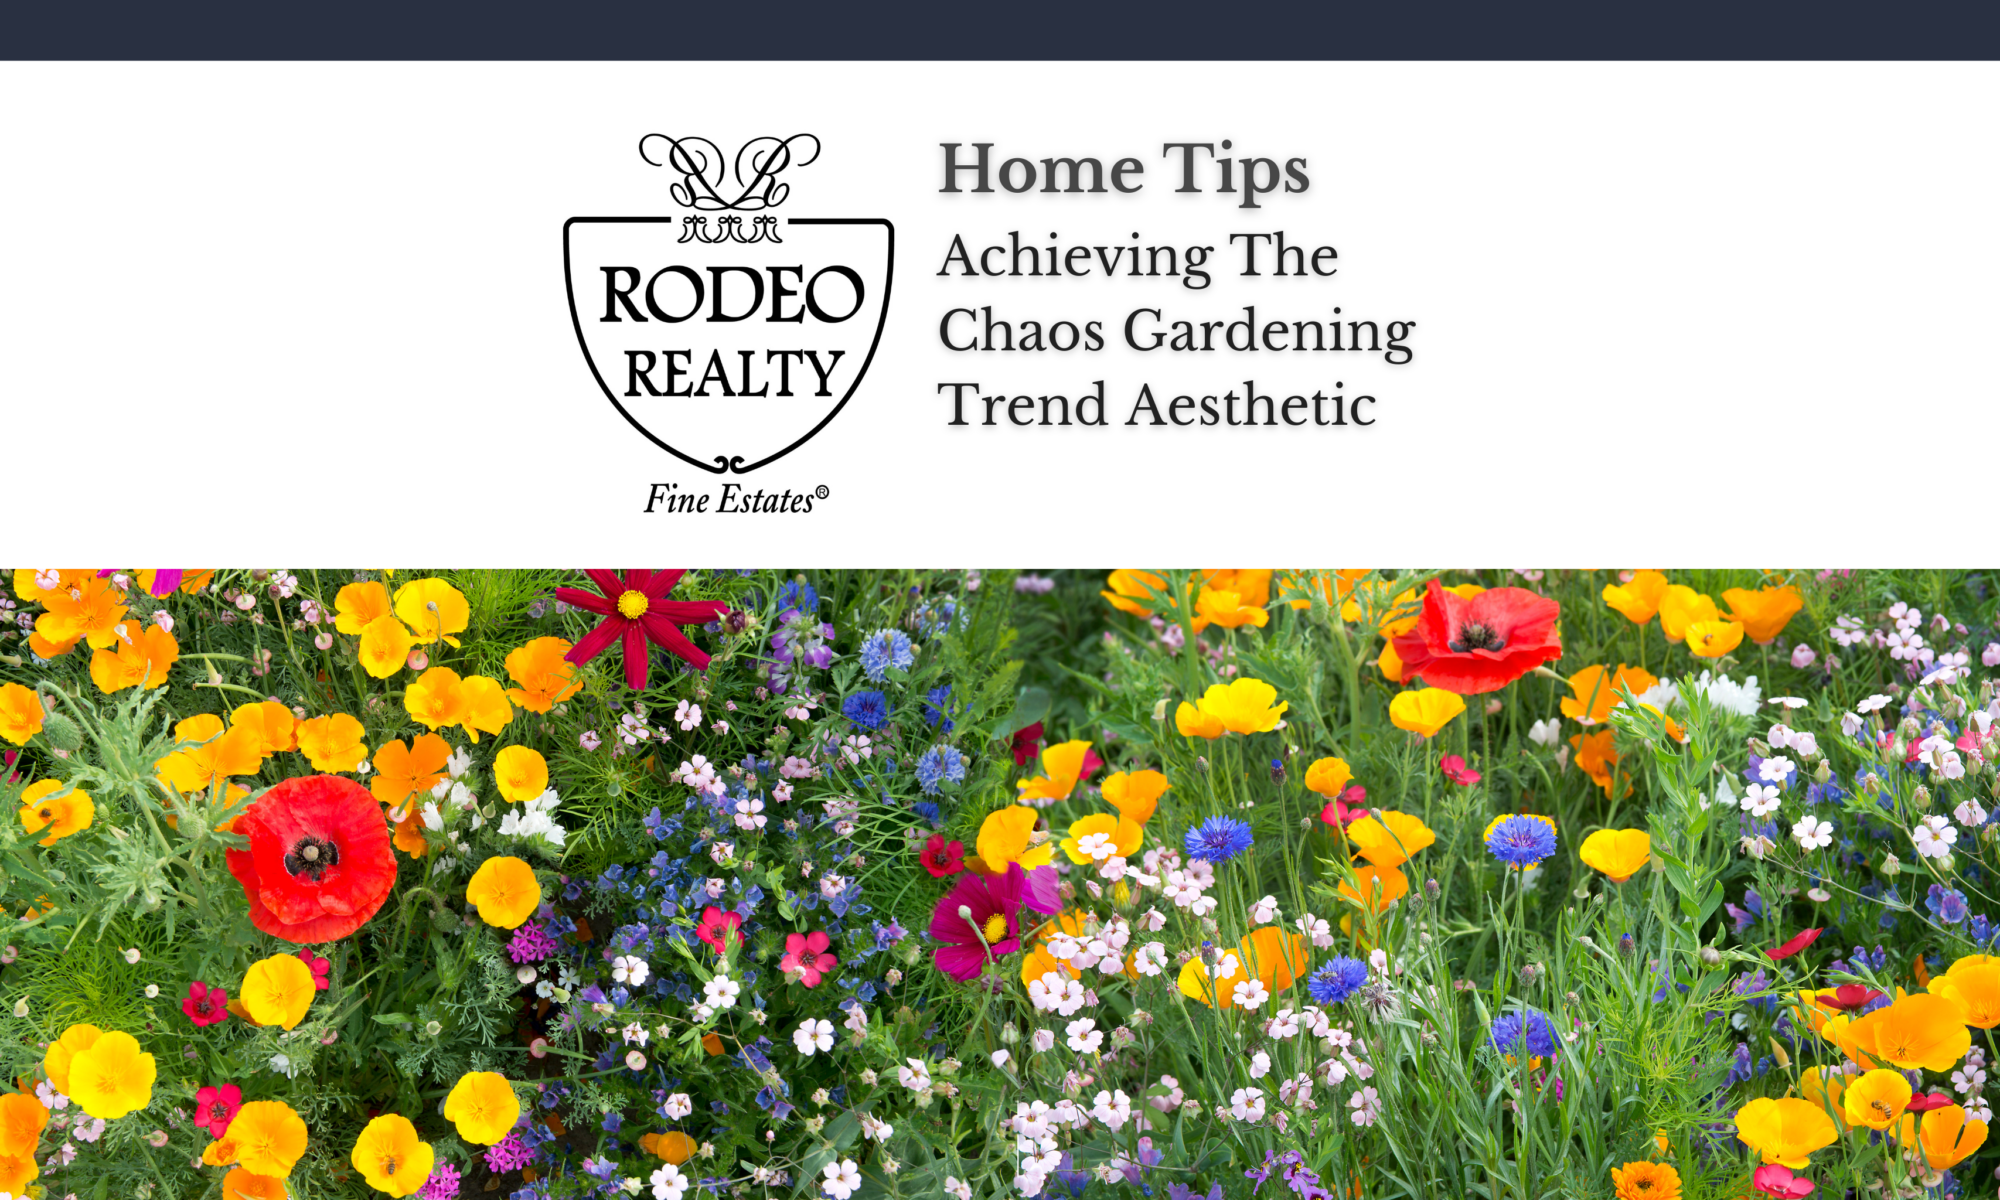
For years, the gold standard of Southern California curb appeal was a perfectly manicured green lawn, rigid geometric hedges, and neat rows of thirsty exotic flowers. Now, chaos gardening is gaining popularity as homeowners embrace a more natural and relaxed approach to landscaping. Across the region, people are moving away from highly structured, water-intensive yards in favor of outdoor spaces that feel organic, inviting, and full of character.
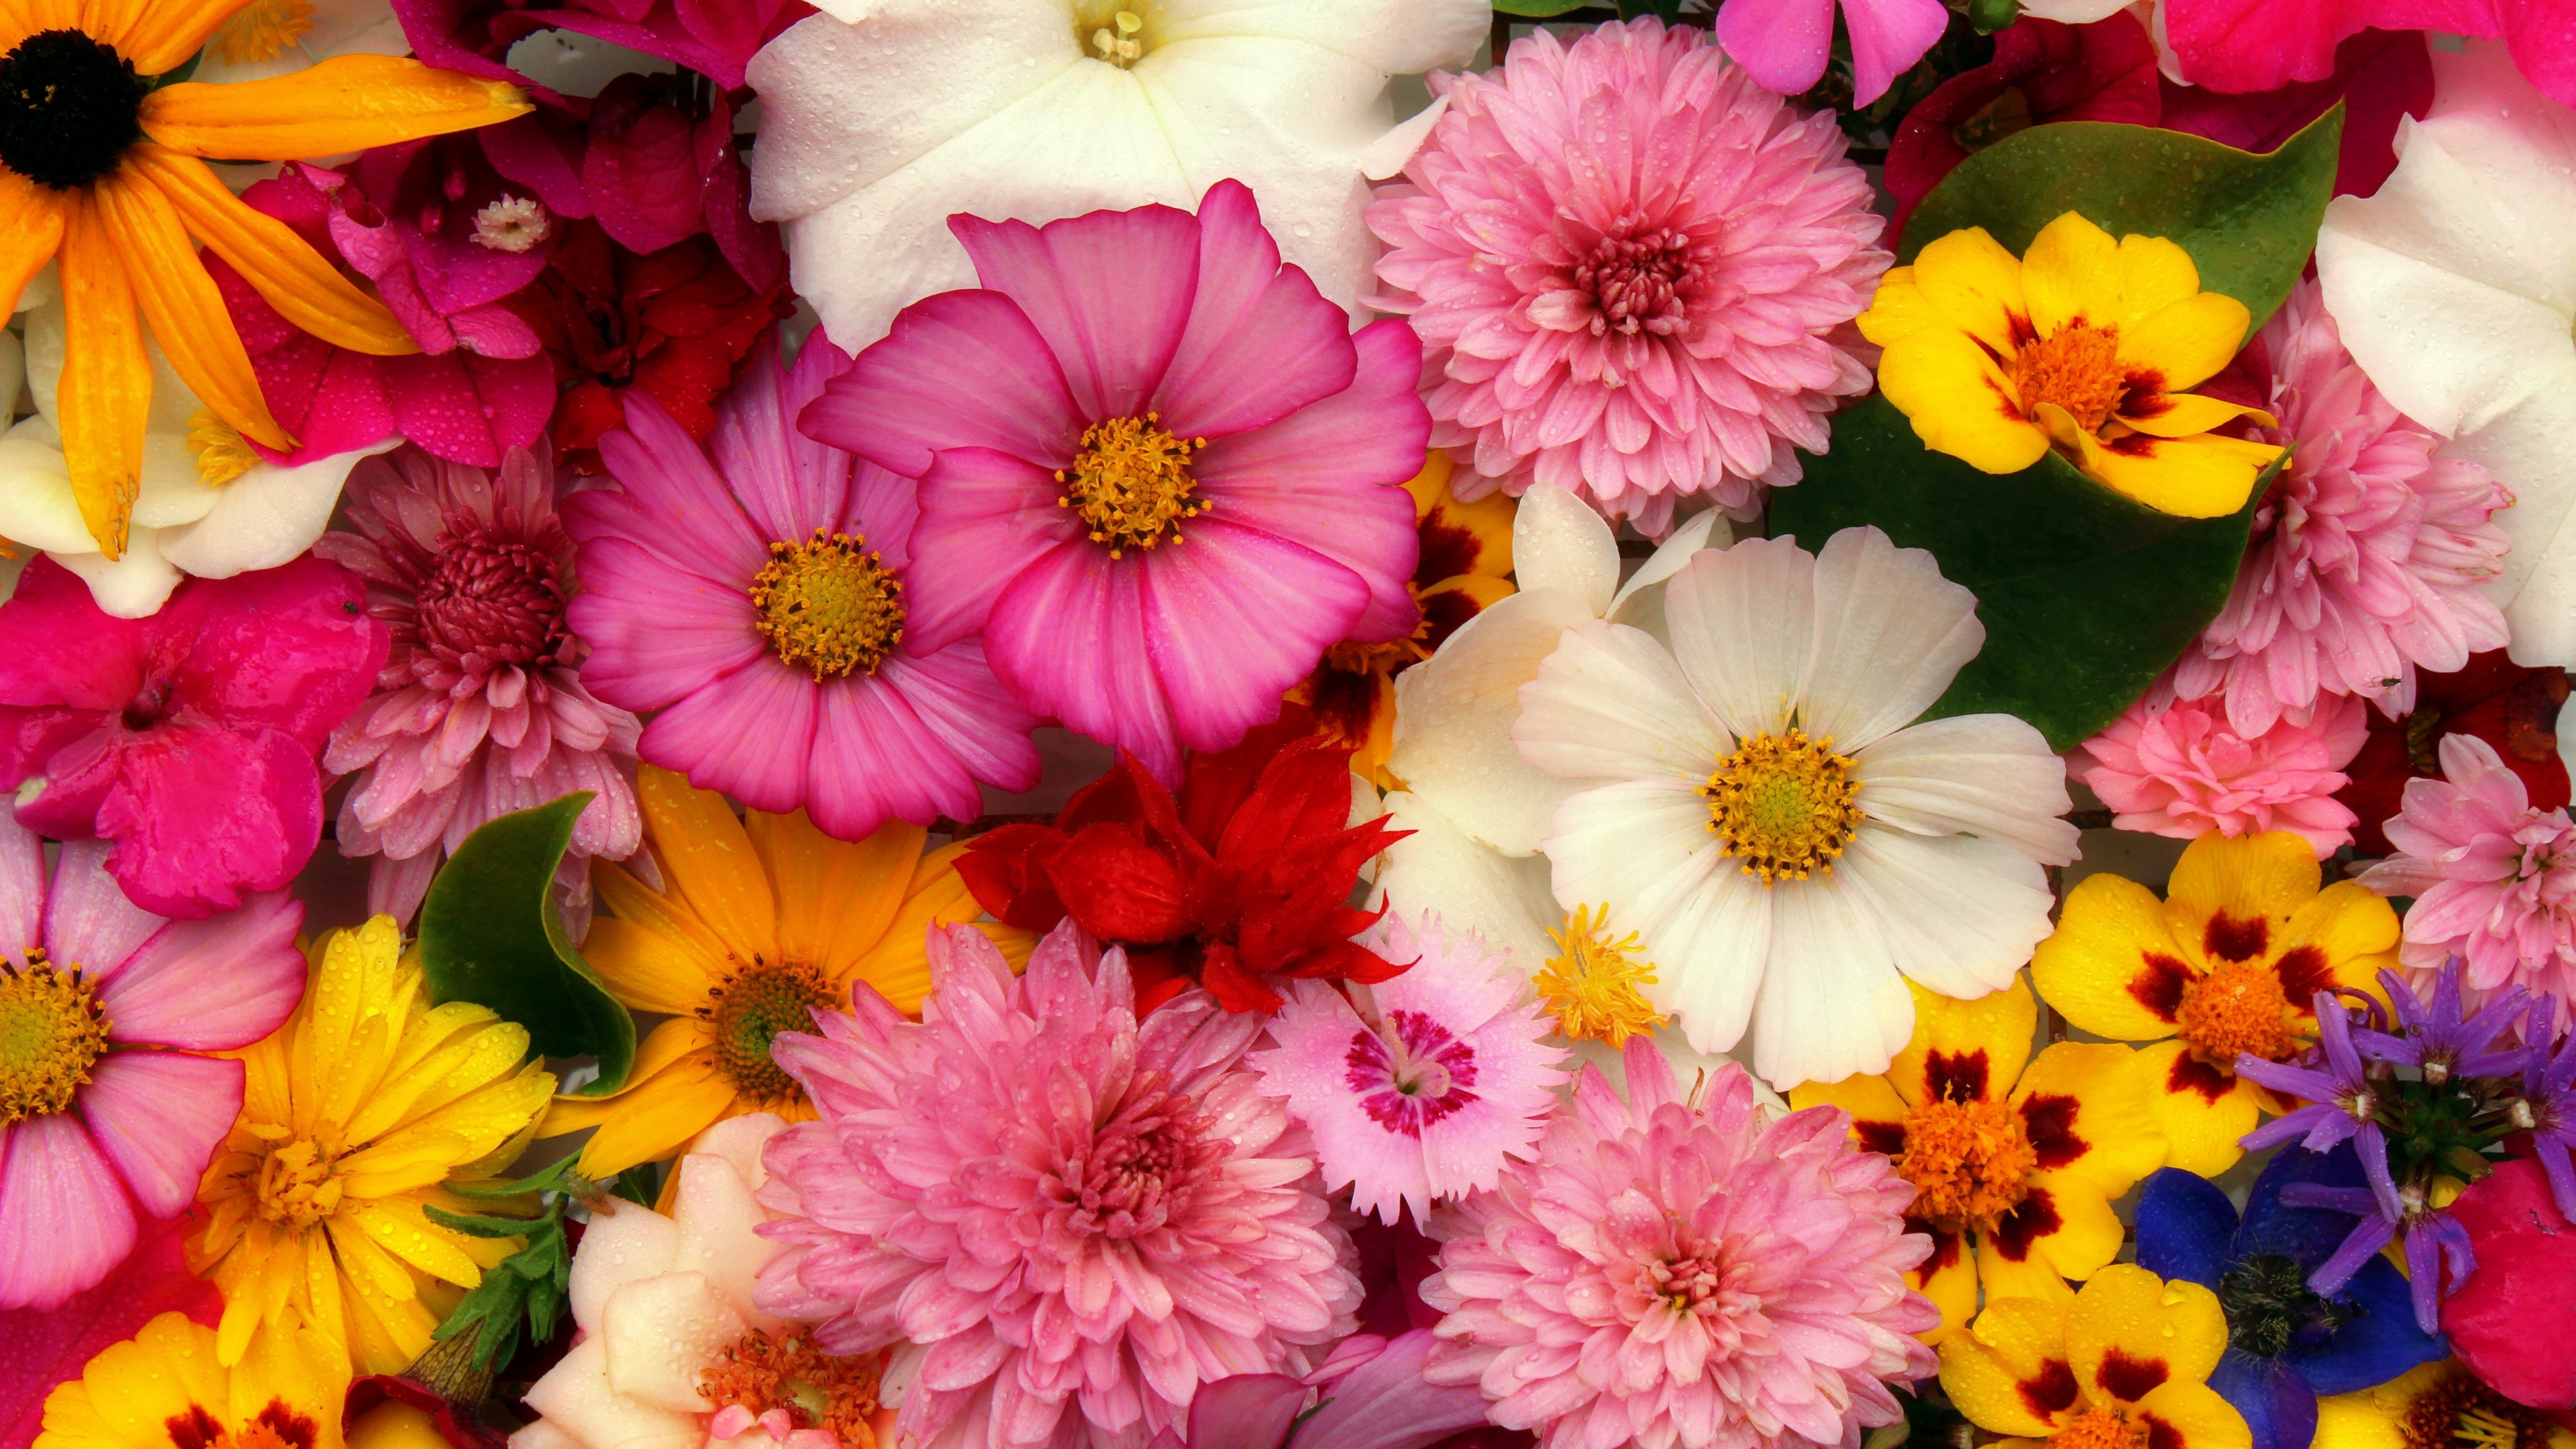
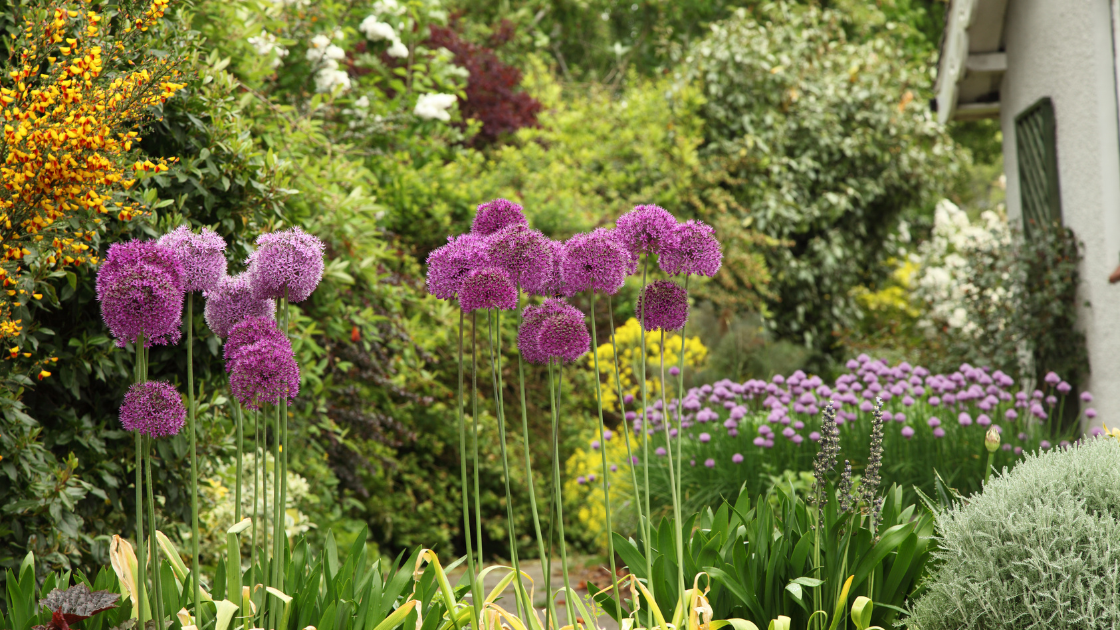
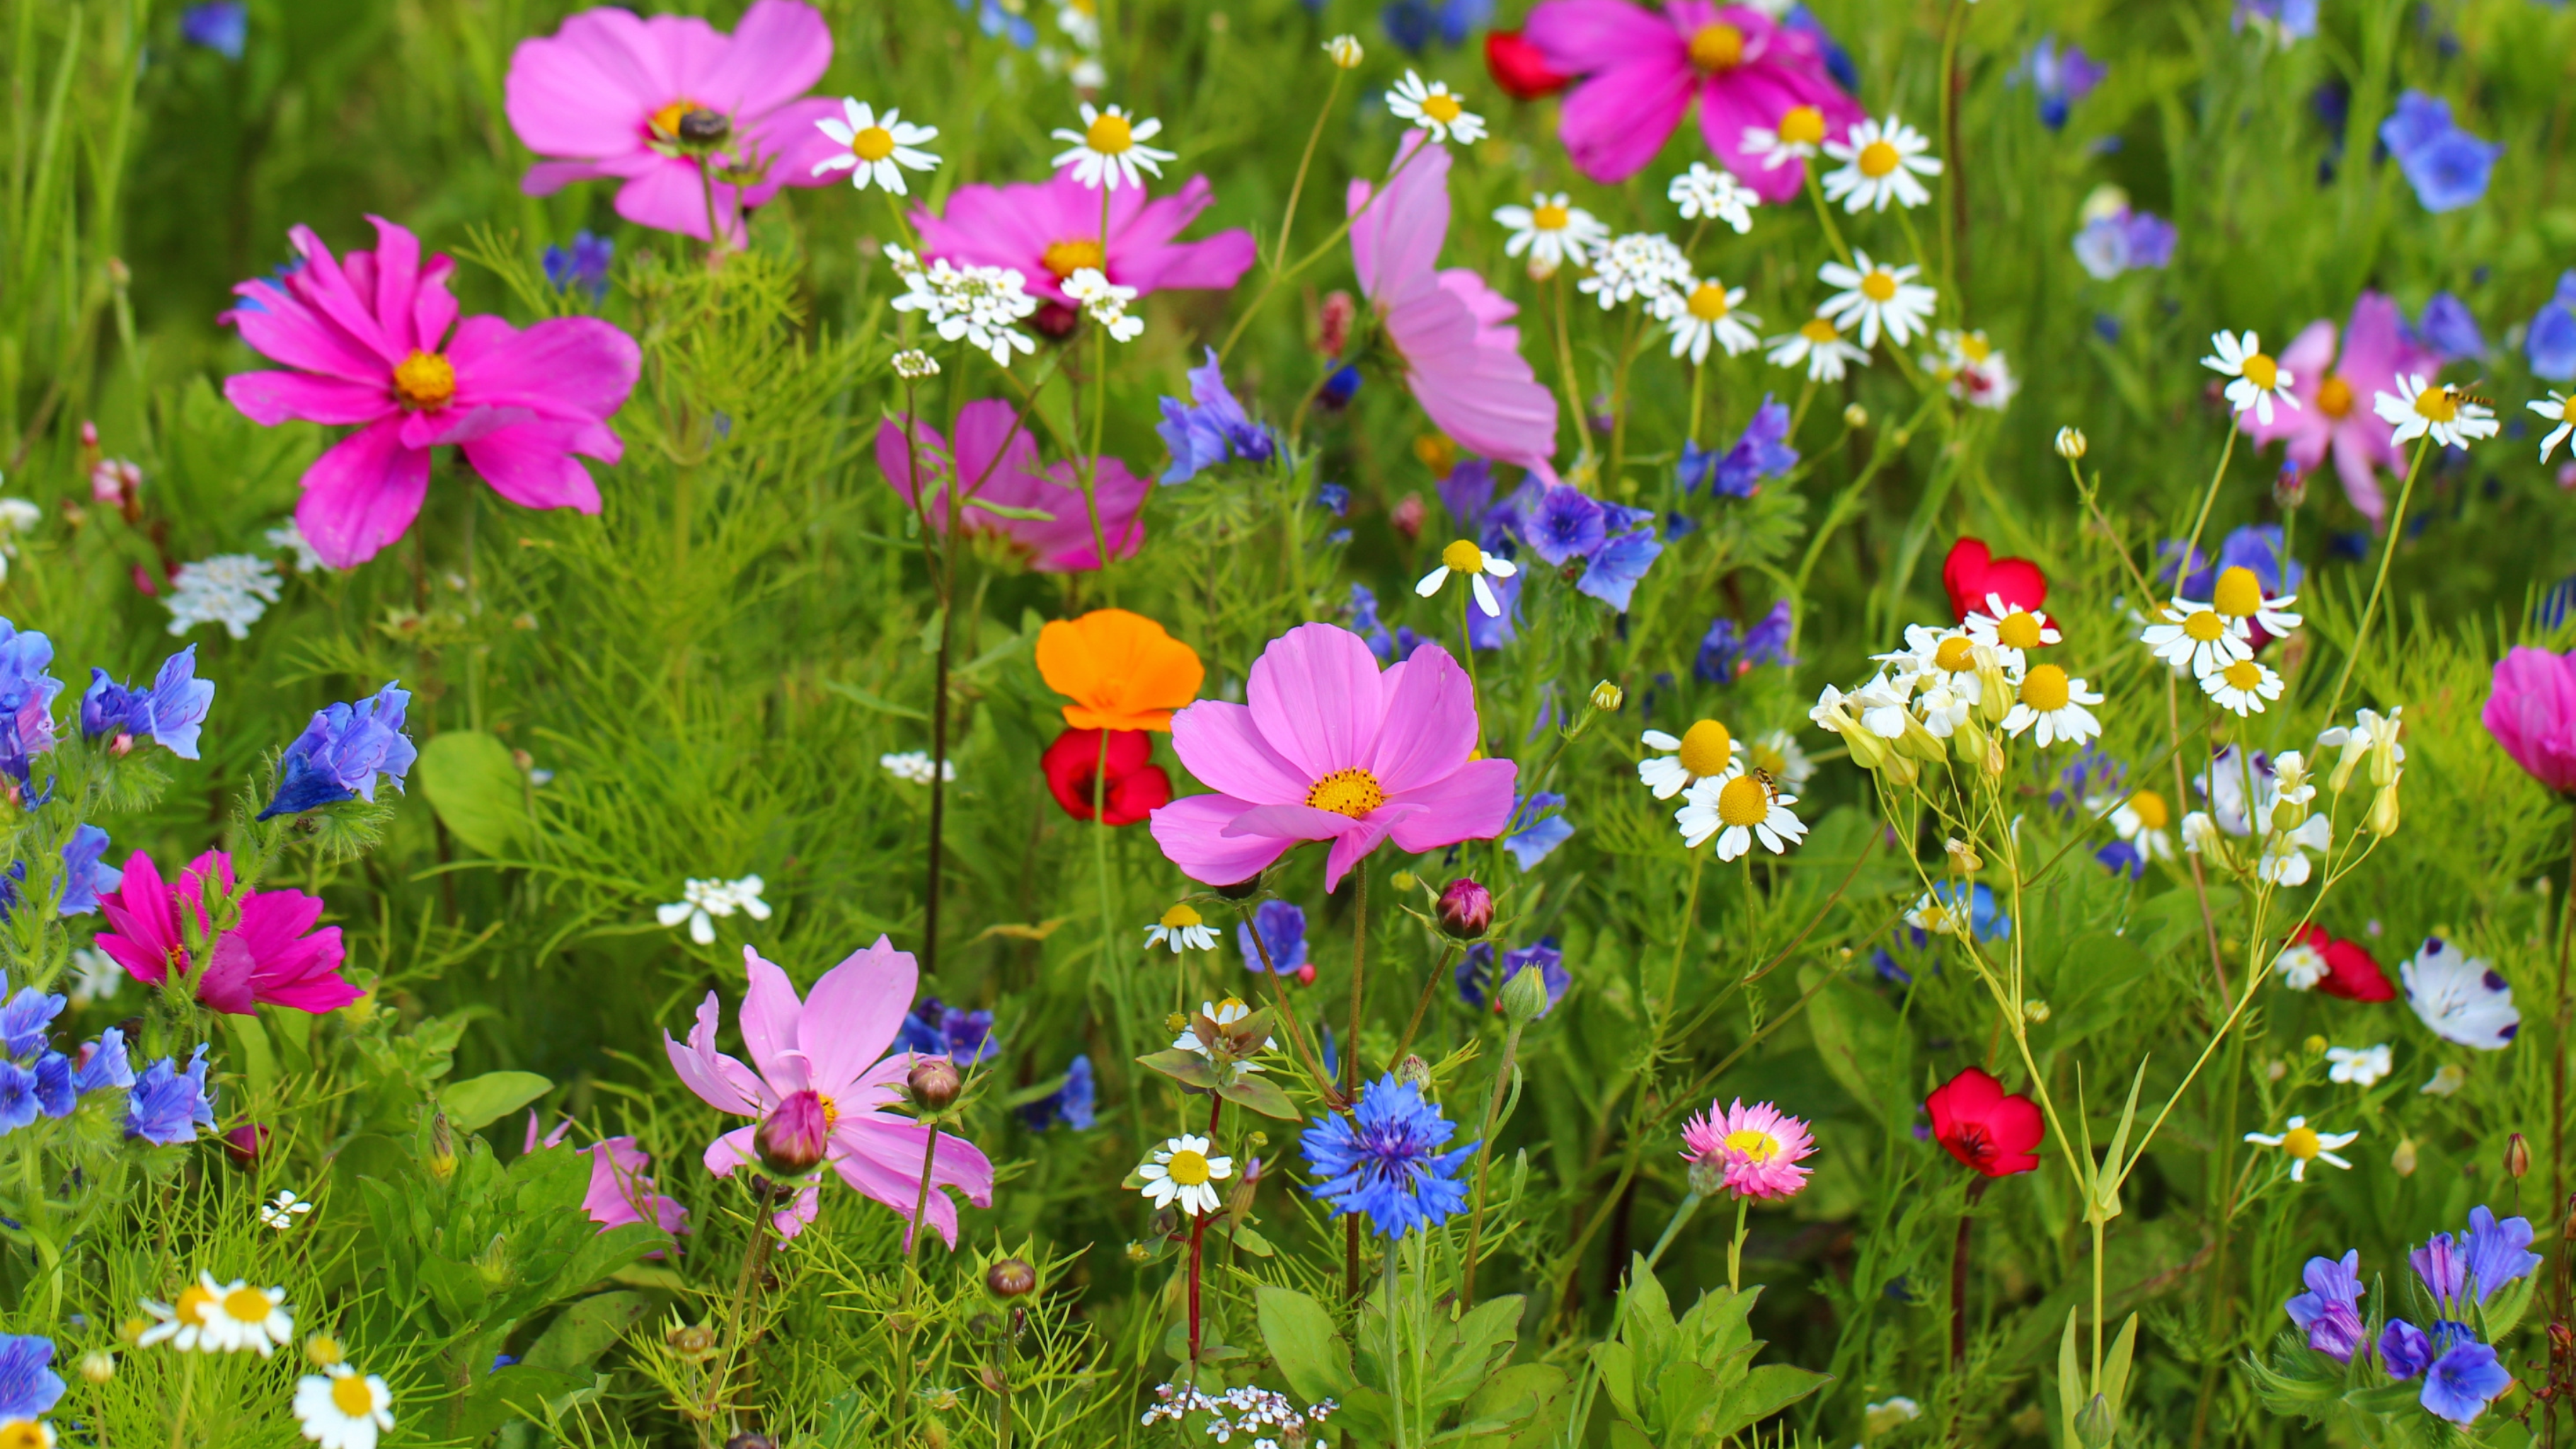
Rooted in the idea that nature does not need to be perfectly controlled to be beautiful, chaos gardening encourages a mix of plants, wildflowers, and greenery to grow together in a way that feels effortless. The result is a landscape that is colorful, vibrant, and uniquely personal, making it an appealing choice for Southern California homeowners looking to create a yard that stands out while working in harmony with the local environment.
Whether you are looking to spruce up your current yard or prep your home for a future sale, here is how to master this beautifully unstructured trend using our region’s stunning flora.
What is the Chaos Gardening Trend Aesthetic?
Despite the wild name, chaos gardening is not about abandoning your yard to the weeds. Instead, it is a low-maintenance, organic design philosophy where you blend a diverse mix of native seeds, like wildflowers, perennials, and herbs, and allow nature to take the driver’s seat.
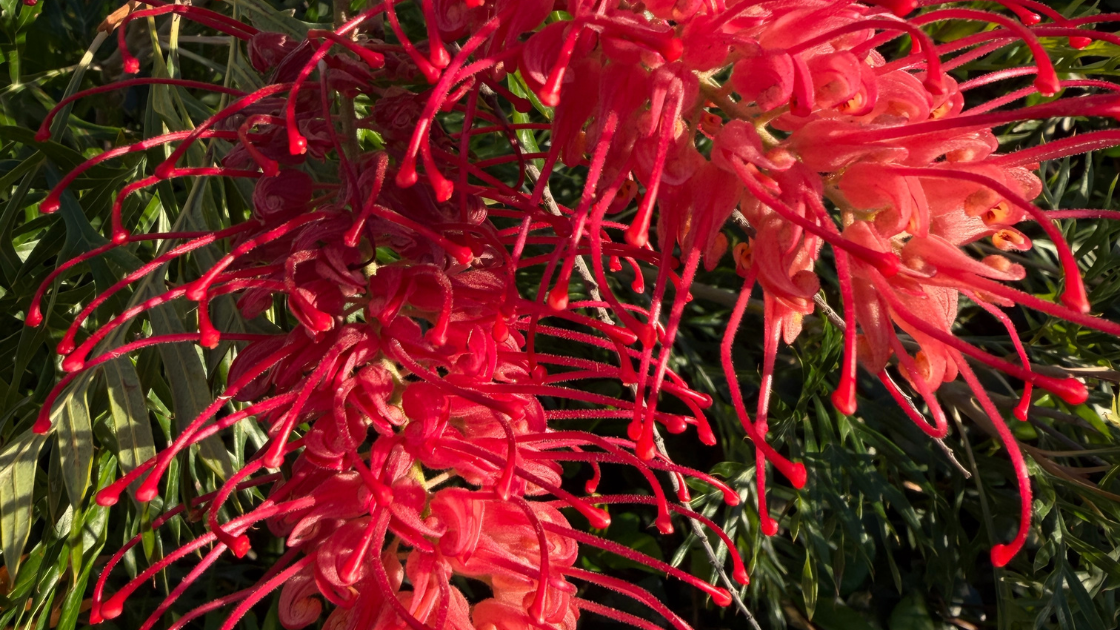
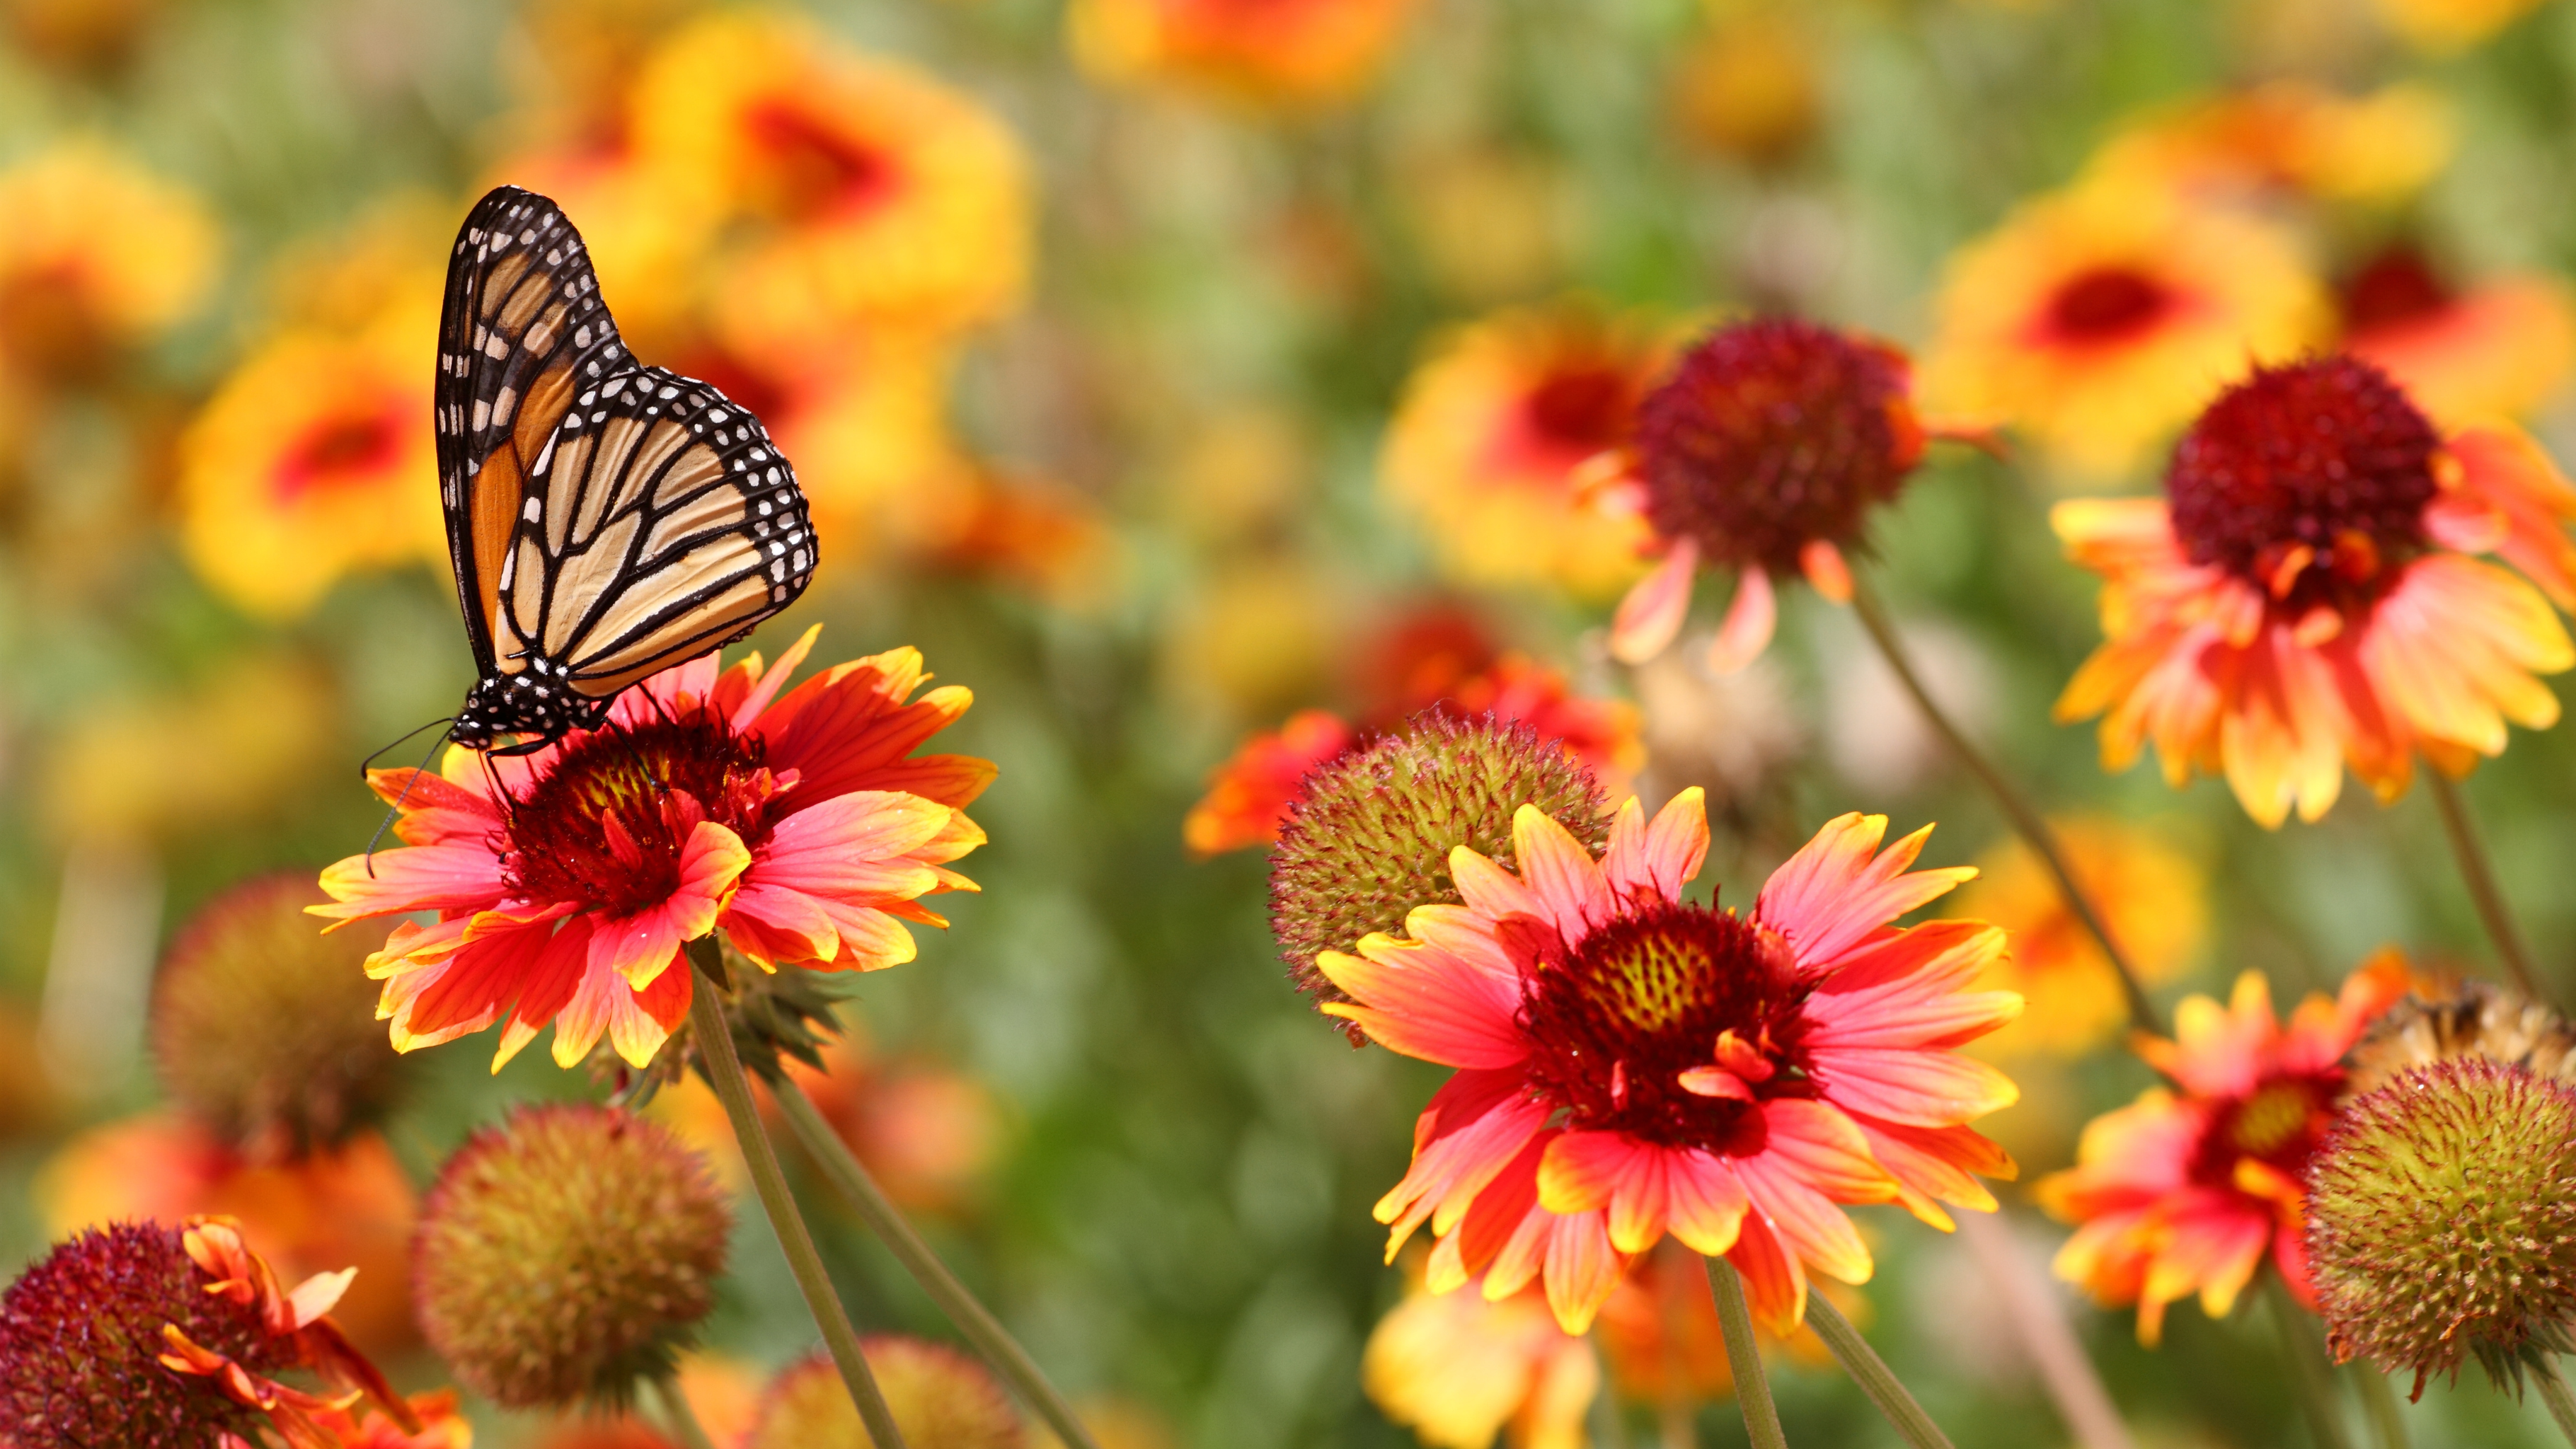
As gardening experts note, the goal is to steer away from harsh, manmade geometric lines and instead lean into soft, organic shapes. The result is a romantic, ever-changing landscape that looks like a natural golden hillside or a coastal meadow. It is incredibly relaxing for homeowners, drastically reduces water bills, and acts as a massive haven for local pollinators like native bees, hummingbirds, and butterflies.
The Principles of “Guided Wildness”
If you want to achieve the chaos gardening trend aesthetic without frustrating your neighbors or your HOA, you need to practice what pros call “guided wildness.” It requires a bit of strategy up front so your yard looks intentionally romantic rather than neglected.
Prep Your Soil and Scatter Strategically
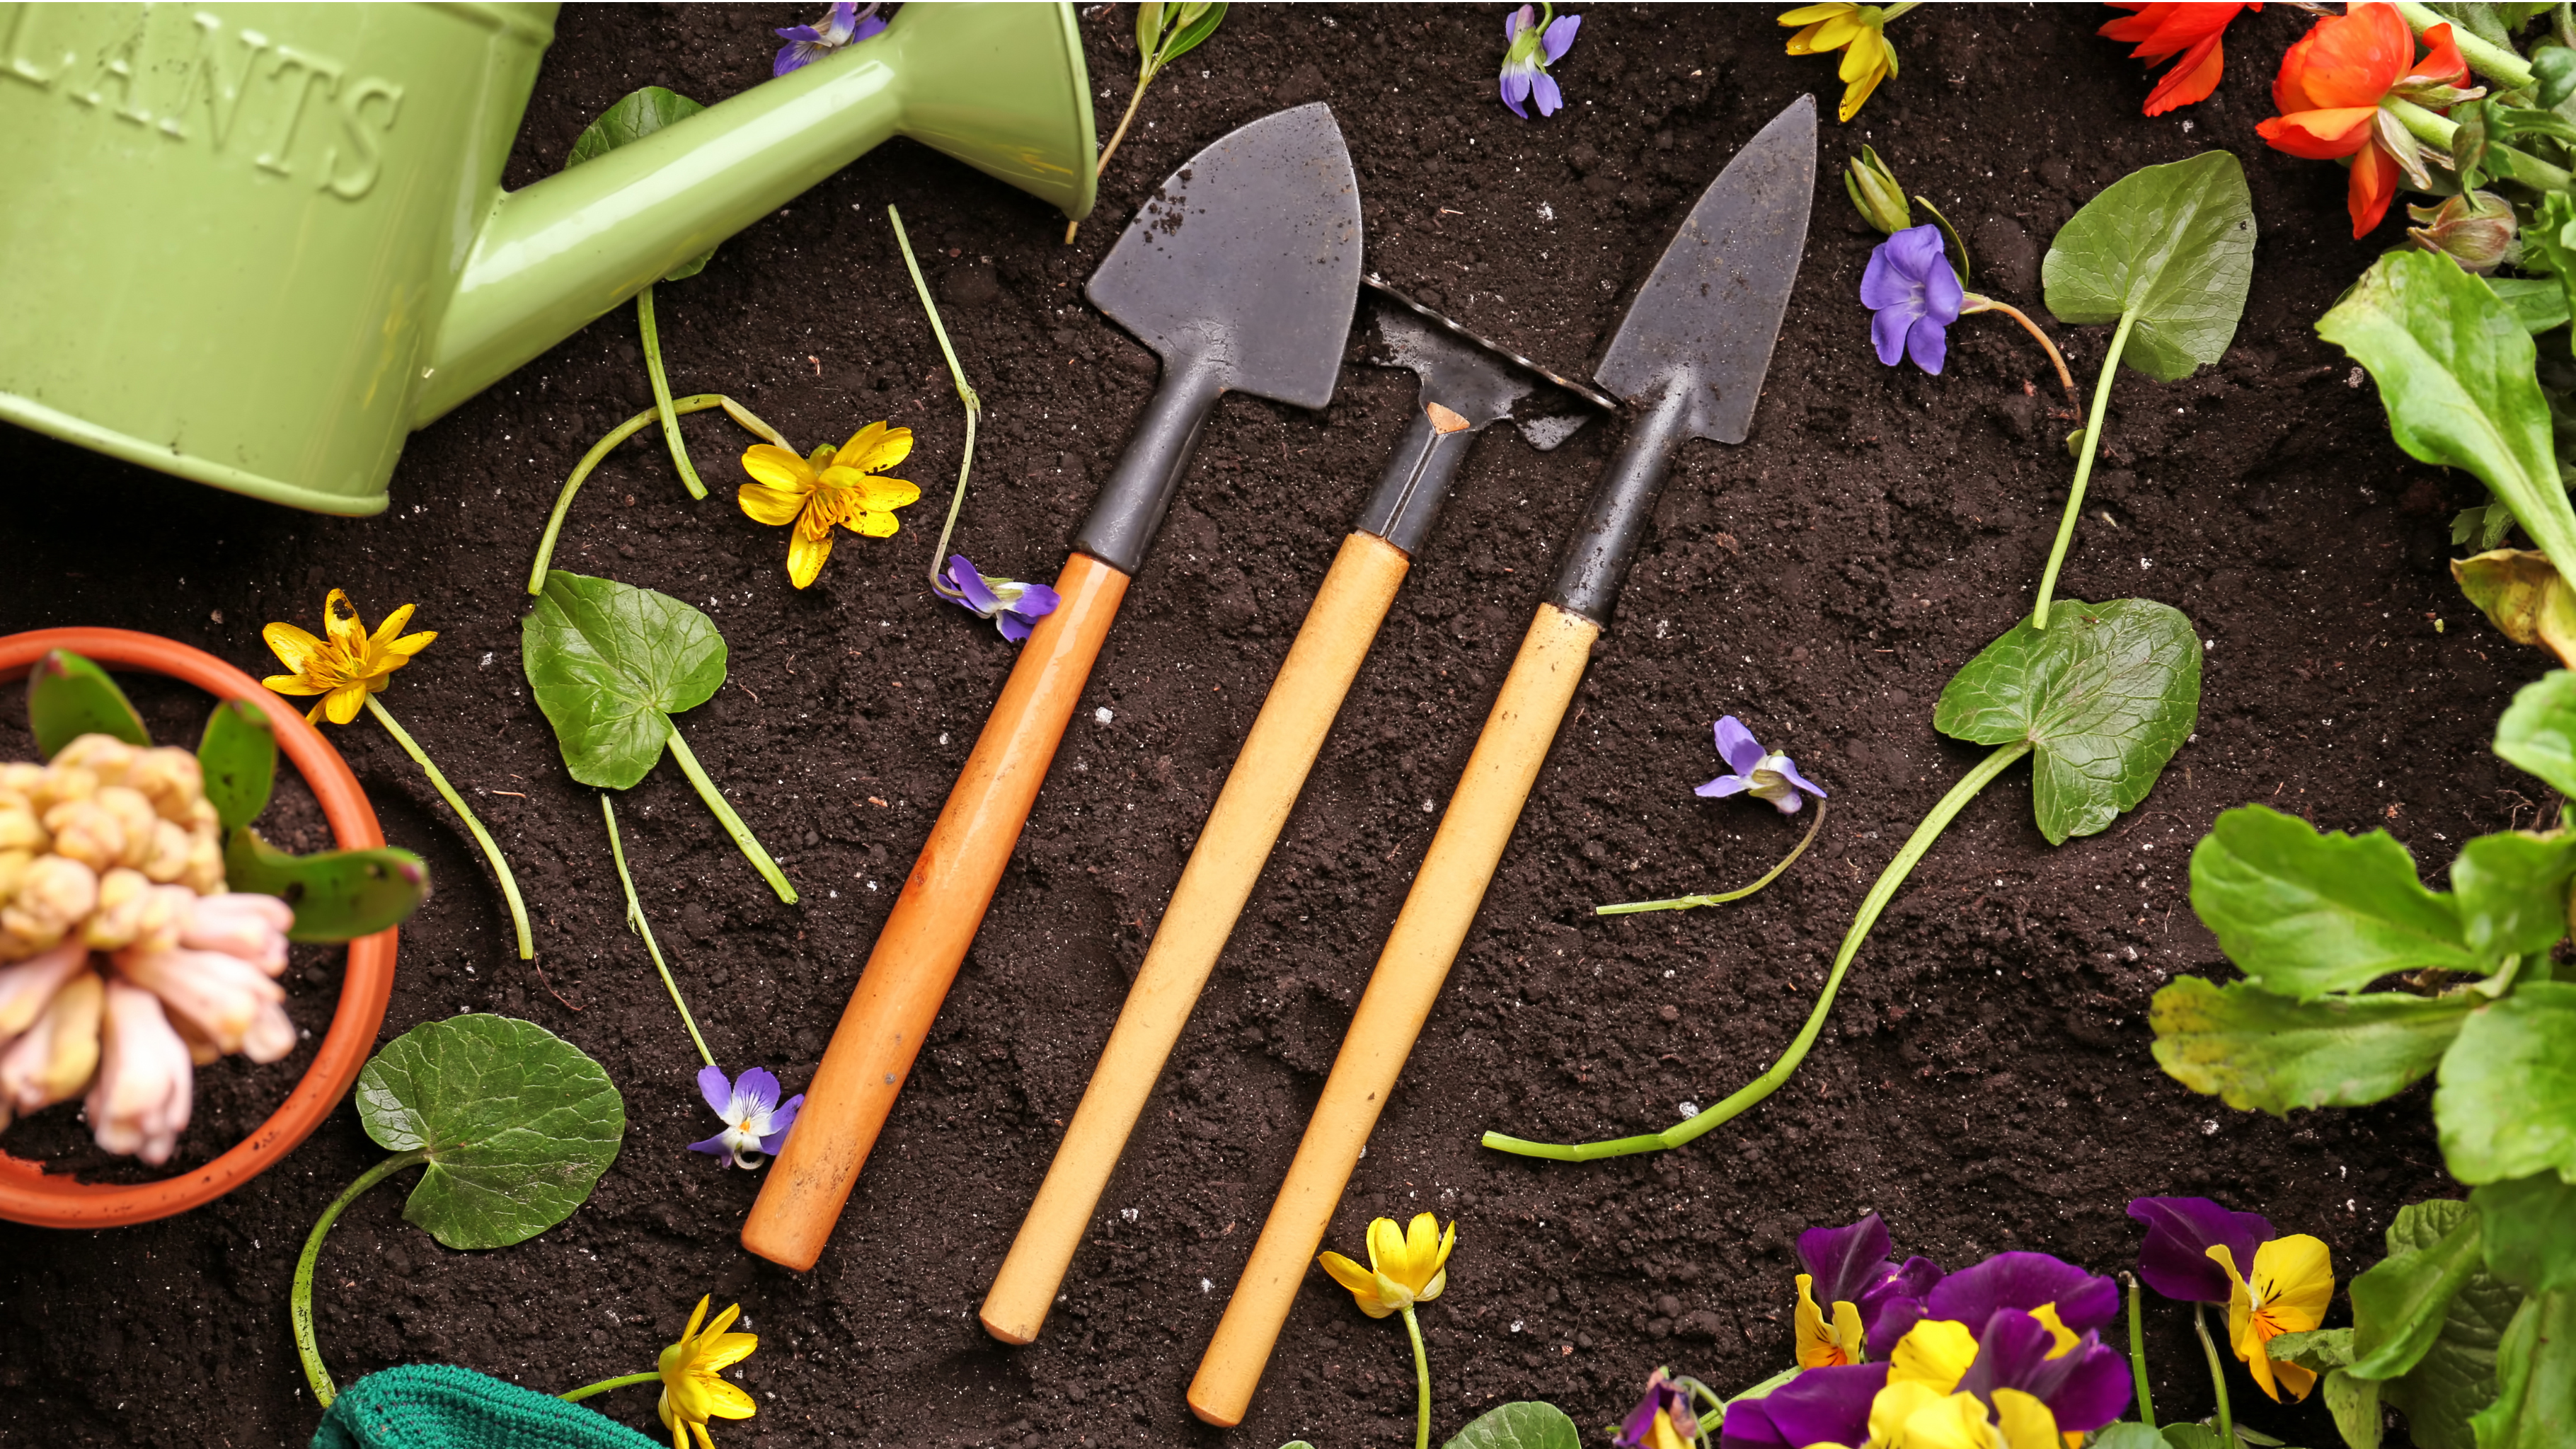
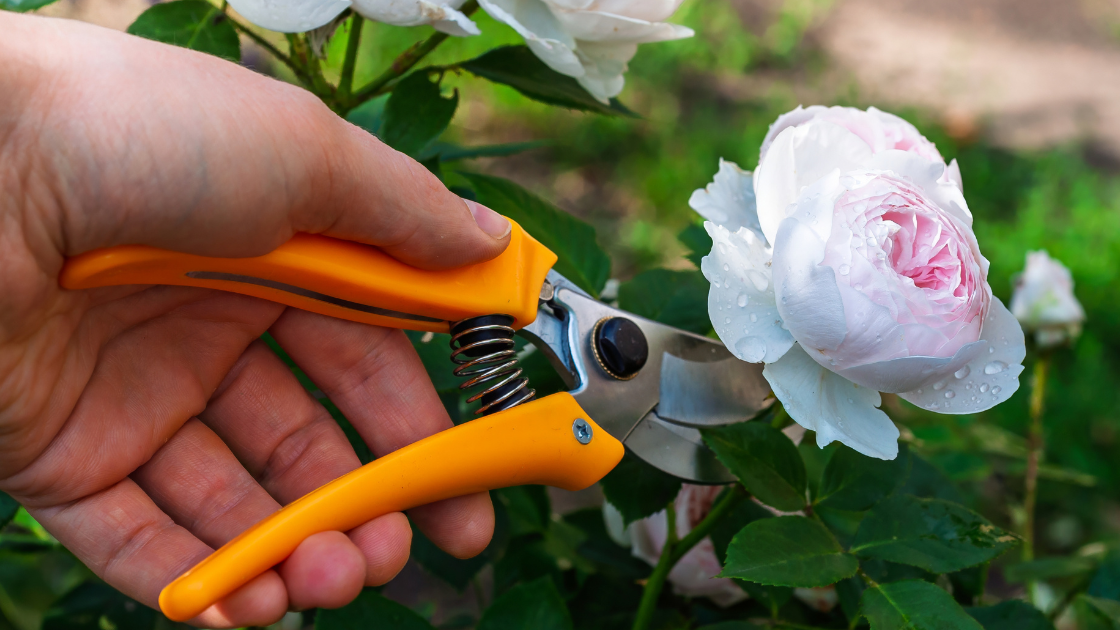
You cannot just throw a handful of seeds onto an unkept lawn and walk away; that just creates a buffet for birds and ants. To start, clear a designated plot of ground, remove existing turf, and loosen the soil. Mix a high-quality blend of native California seeds. Scatter the seeds evenly, rake them in lightly (aiming for just a quarter-inch of depth), and cover them with a thin layer of compost to protect them while they take root.
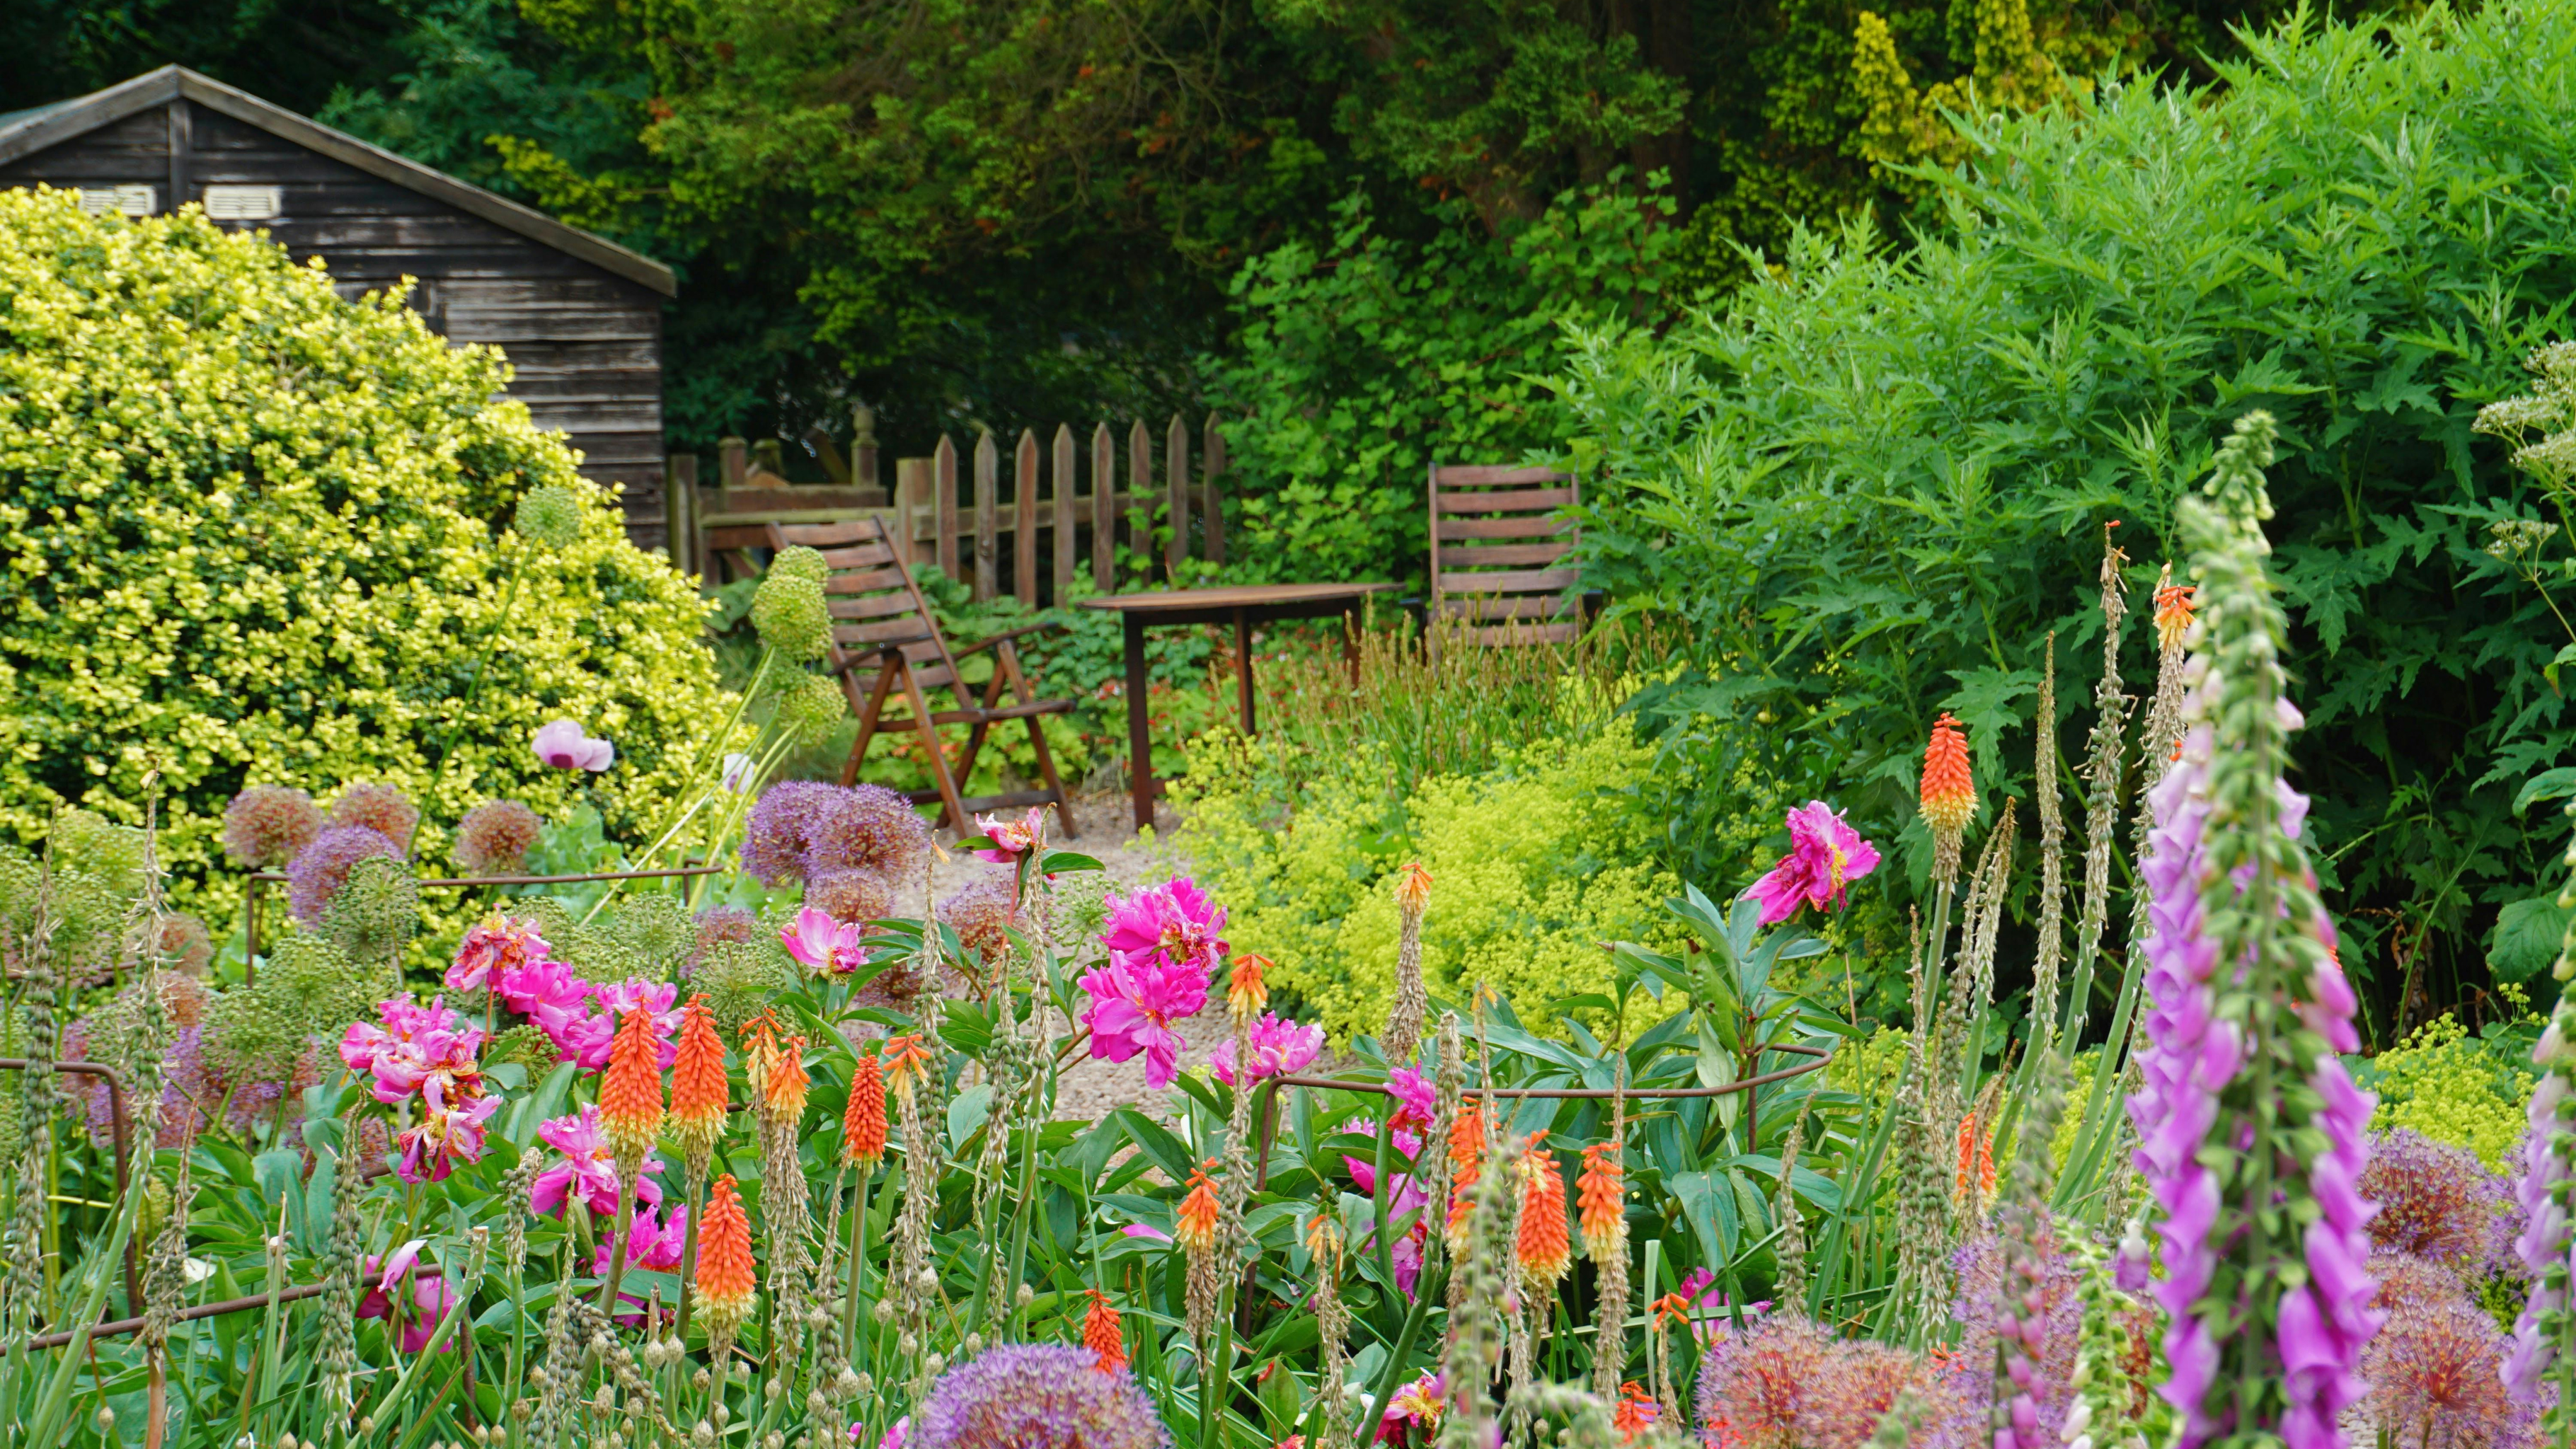
Build In Weathered Architecture
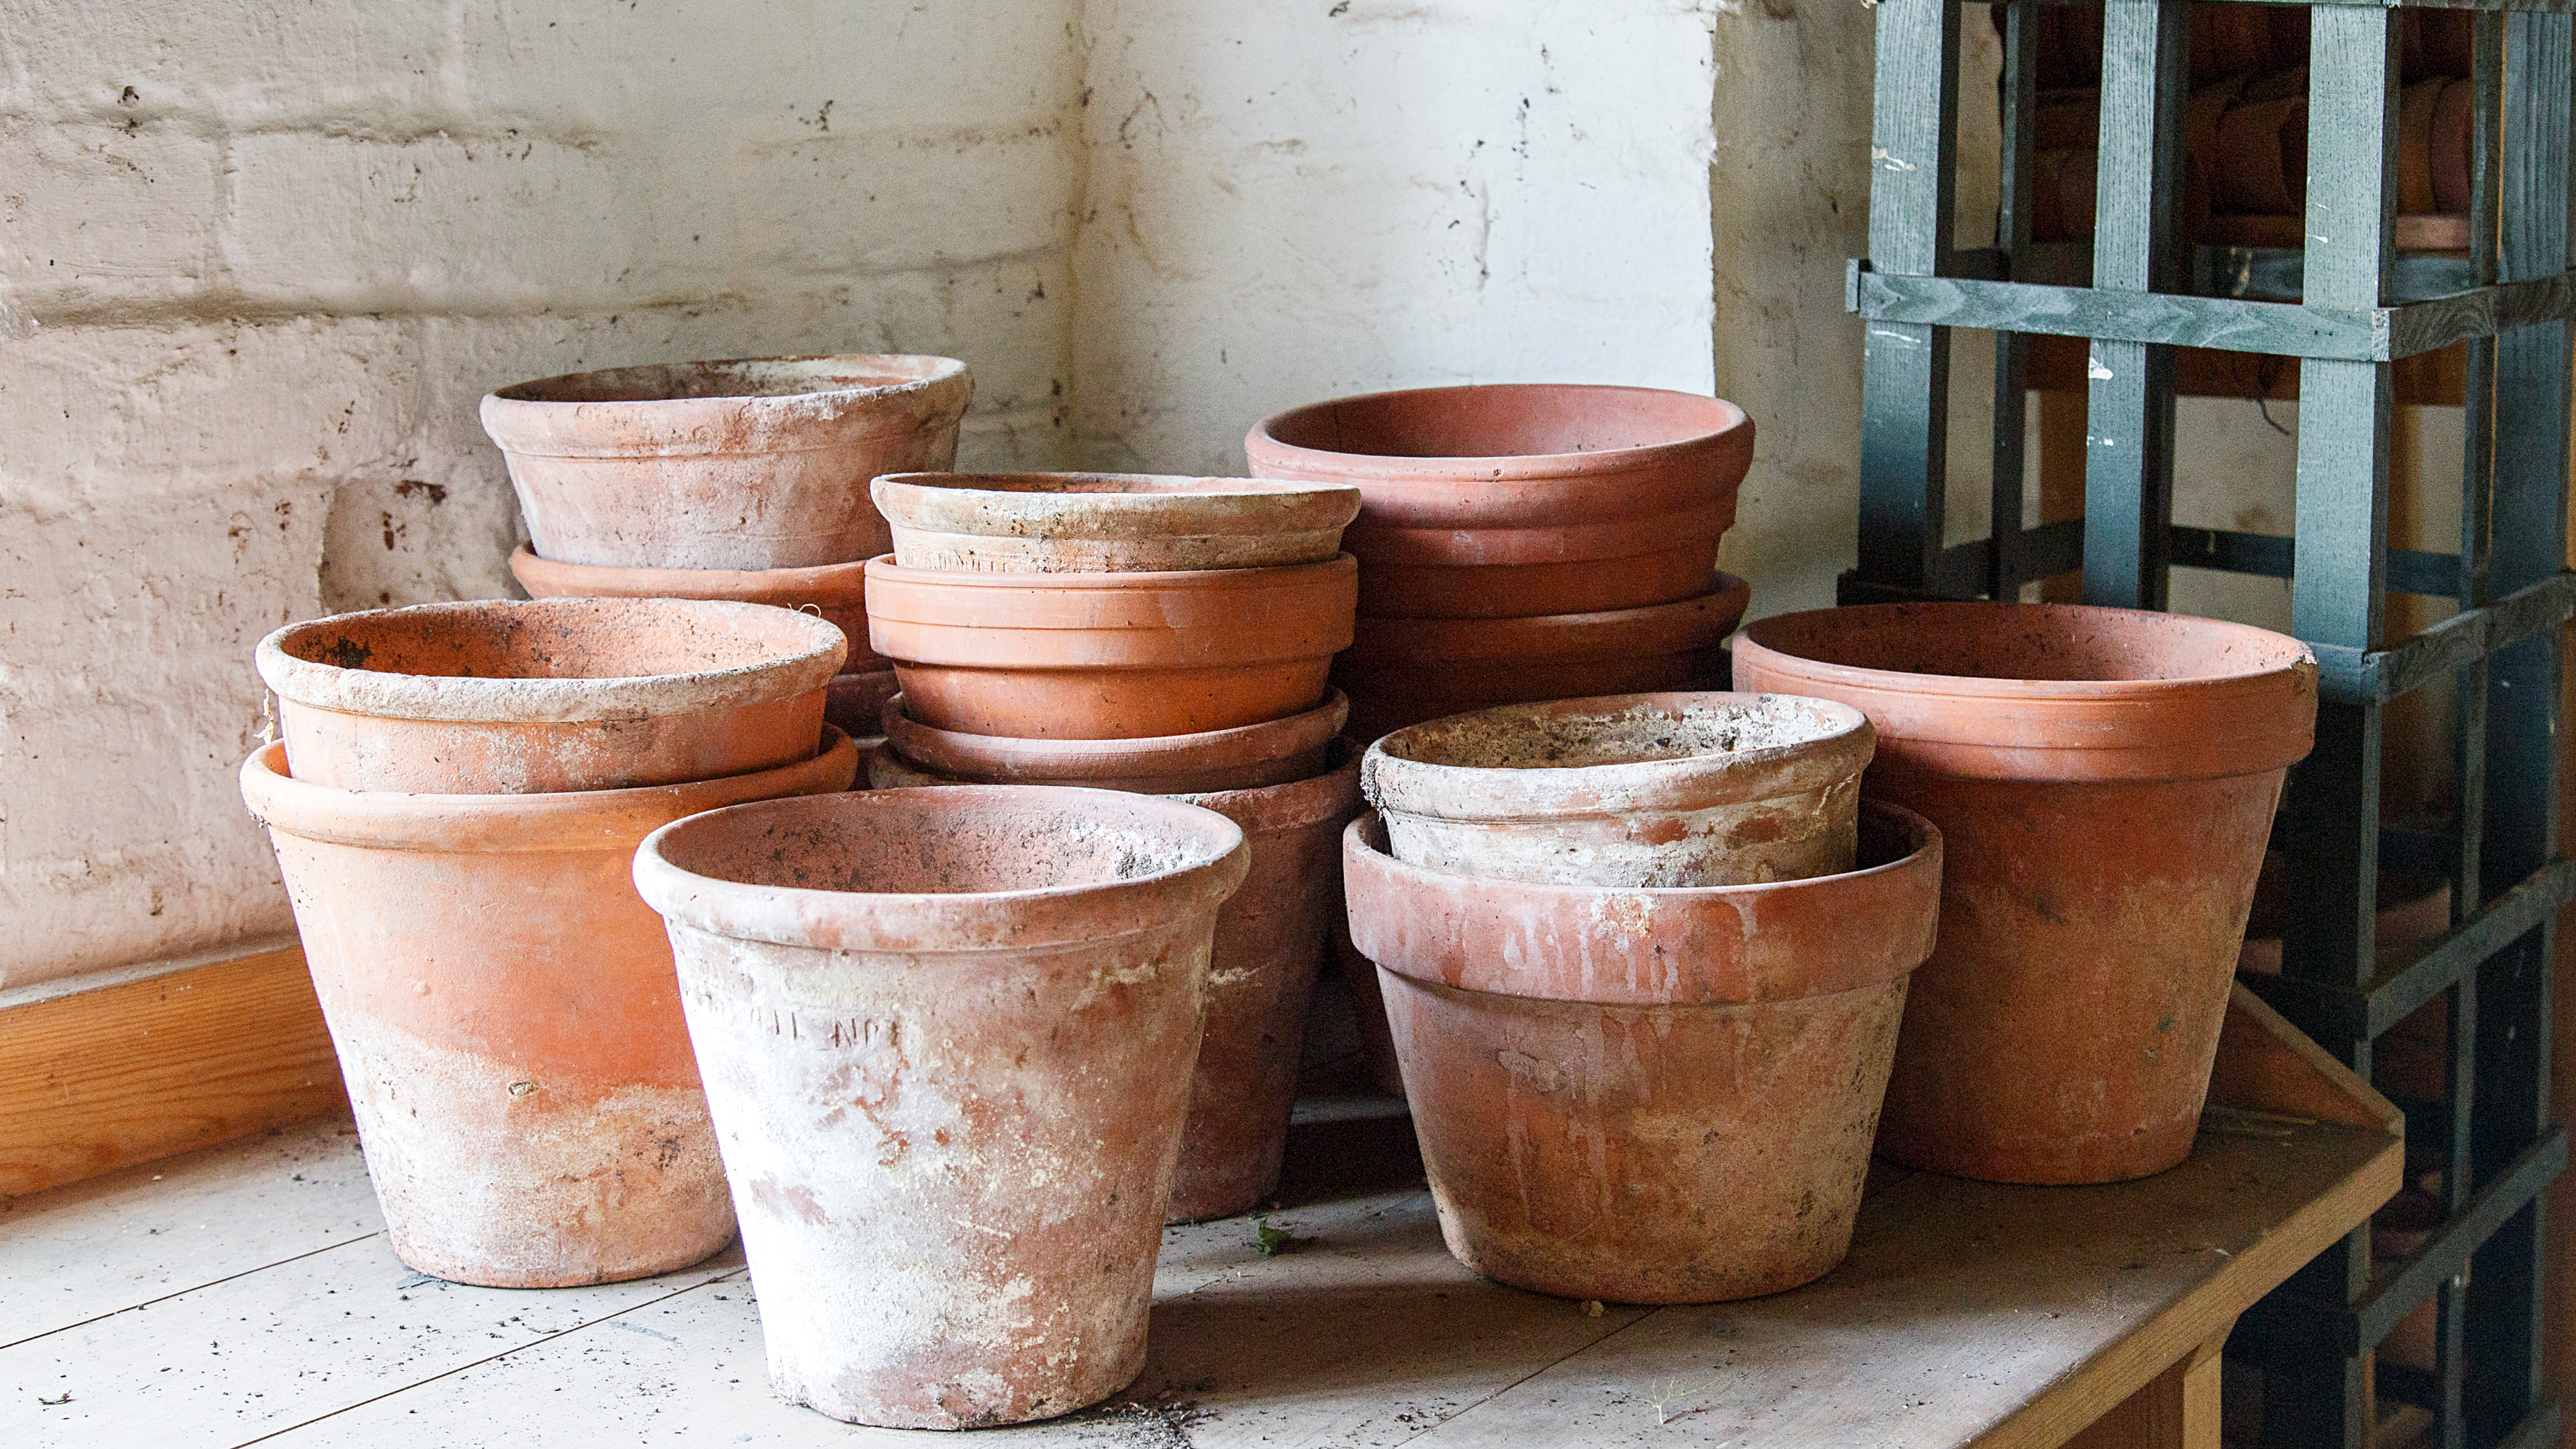
True chaos gardens rely on soft plants for structure rather than massive amounts of expensive, hard stone landscaping. To ground the space, use natural and aged accents. Stacking a simple log pile in a shady corner acts as a visual anchor while providing a sanctuary for local wildlife. Dotted groupings of classic terracotta pots, which naturally acquire a chalky, weathered patina over time, or a simple galvanized tub add an instantly cozy, timeless charm.
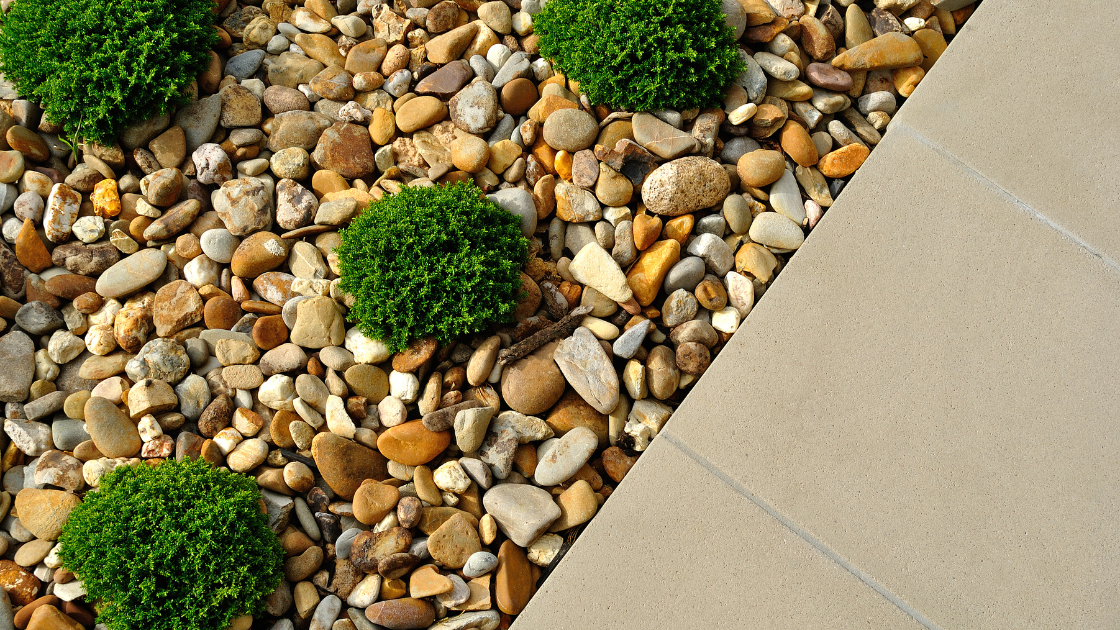
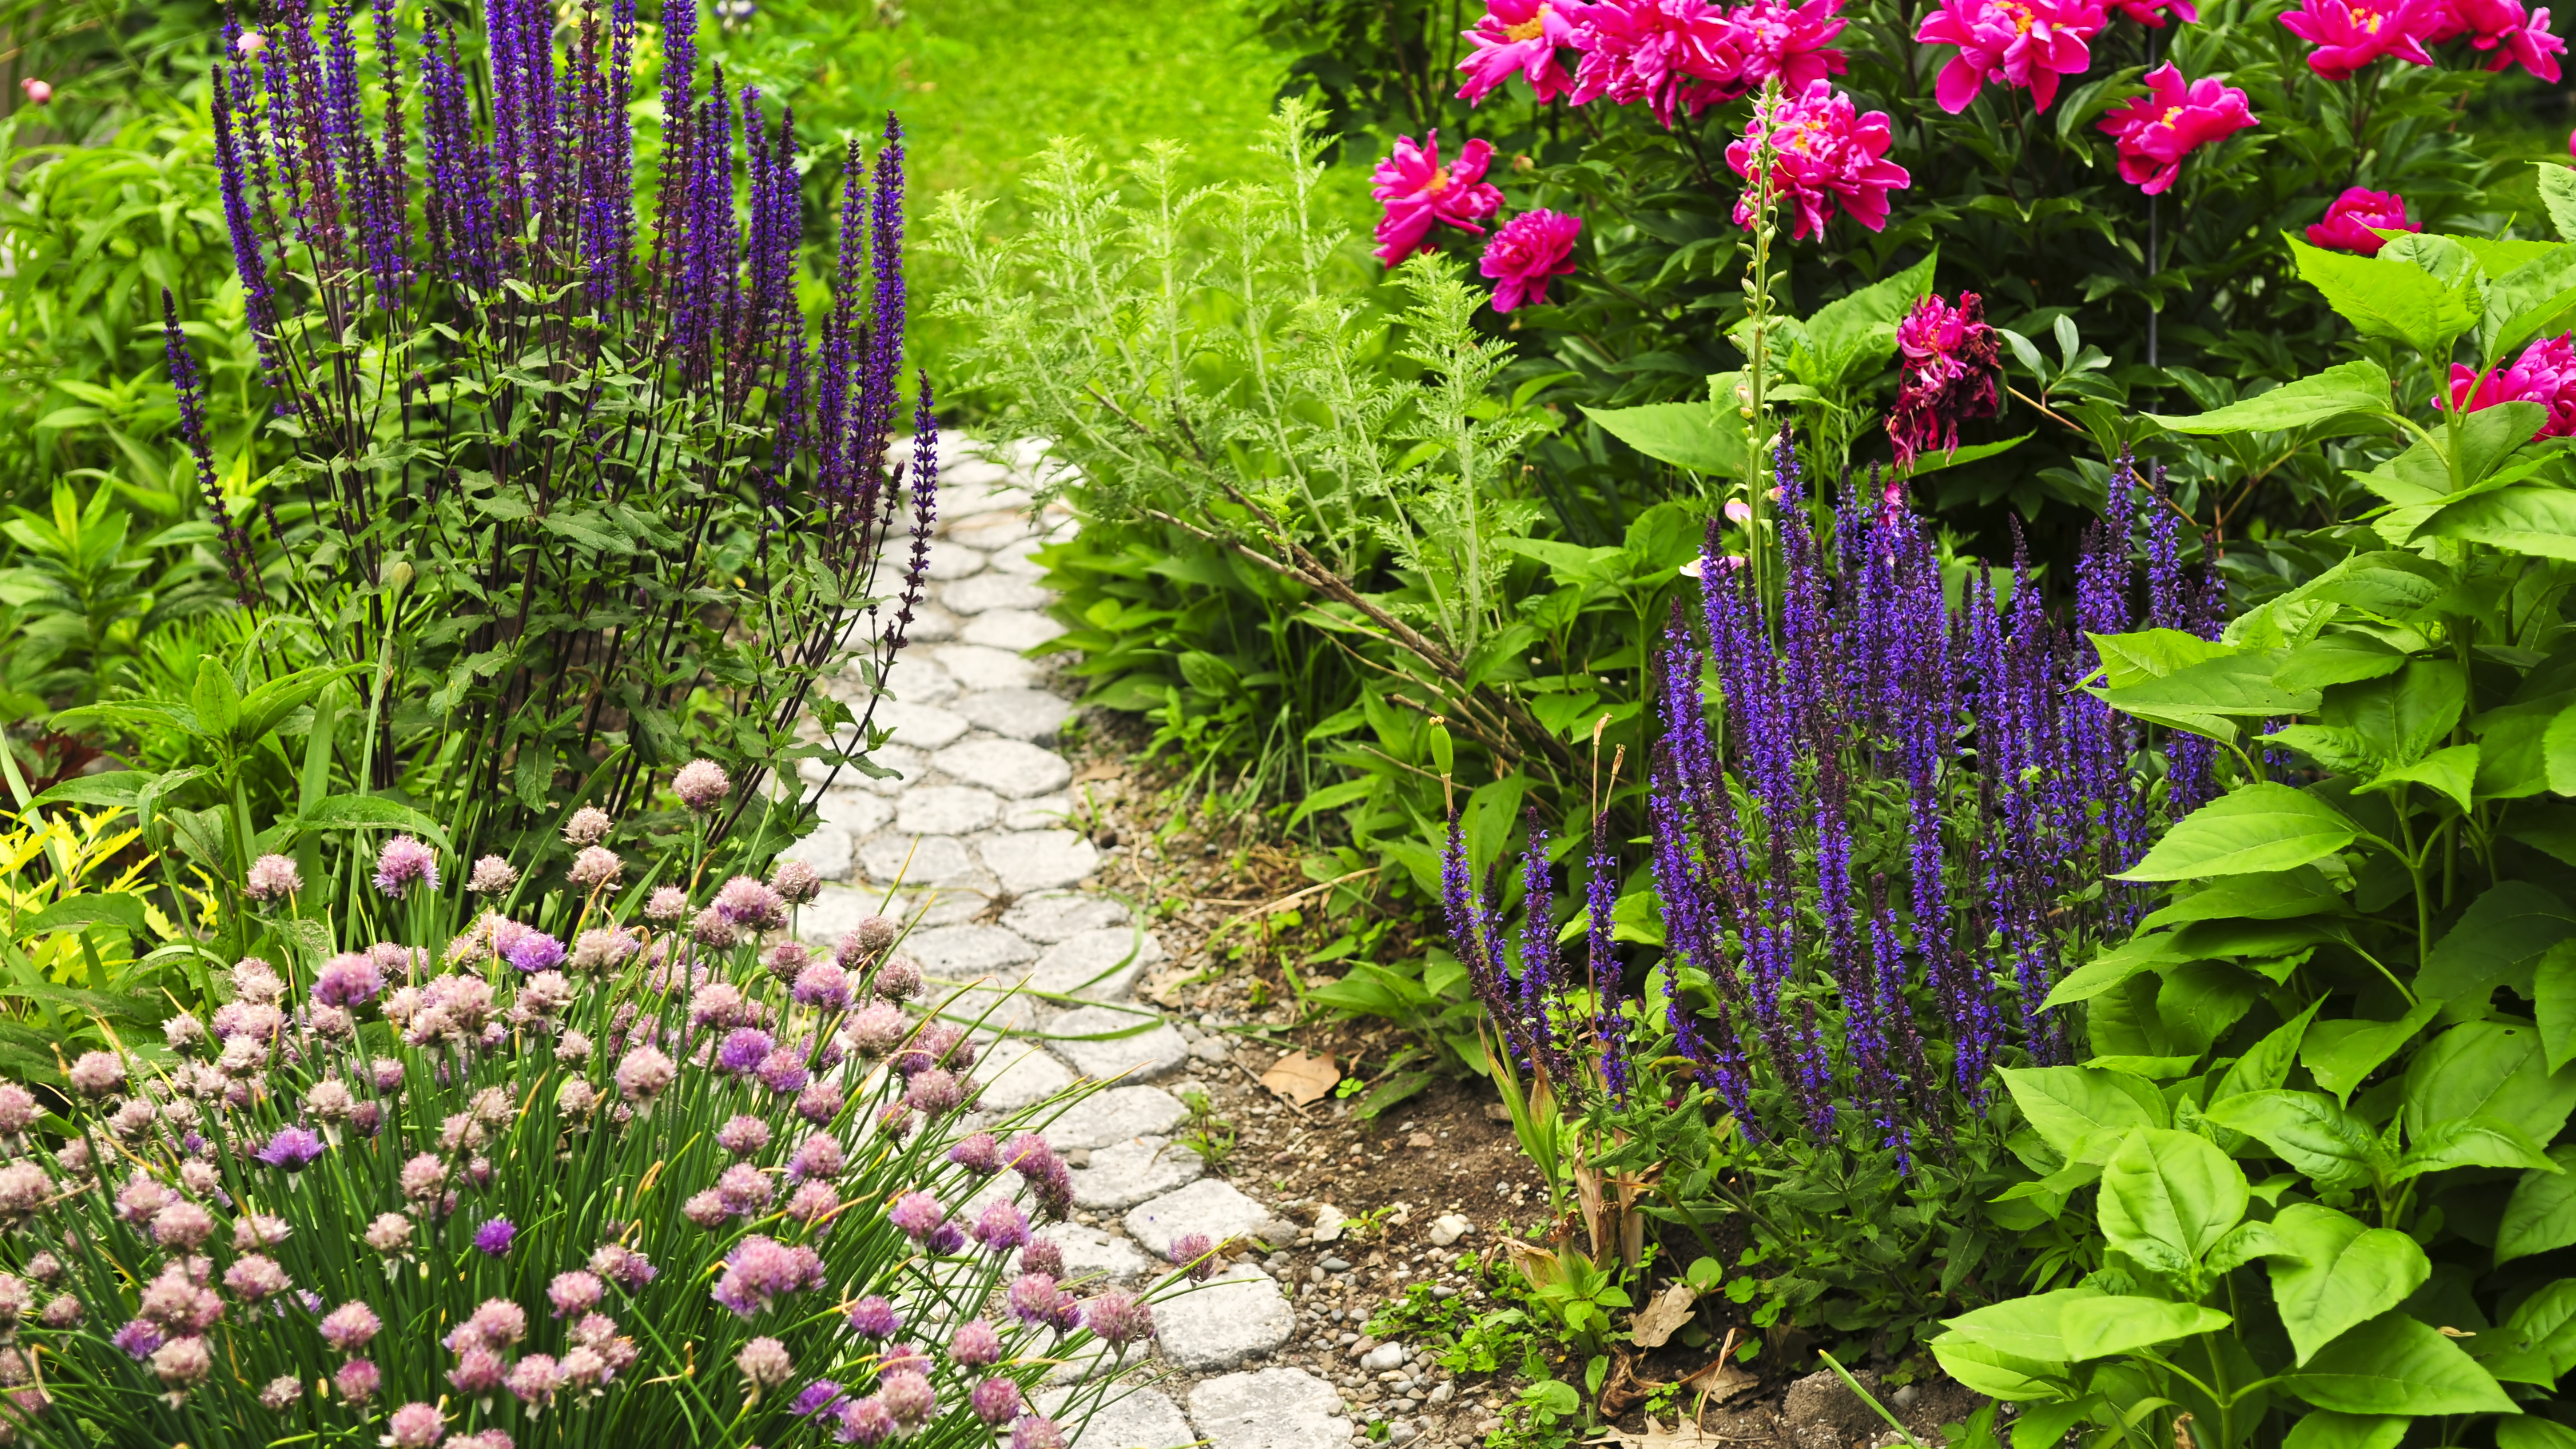
Soften Your Footpaths with Pea Gravel
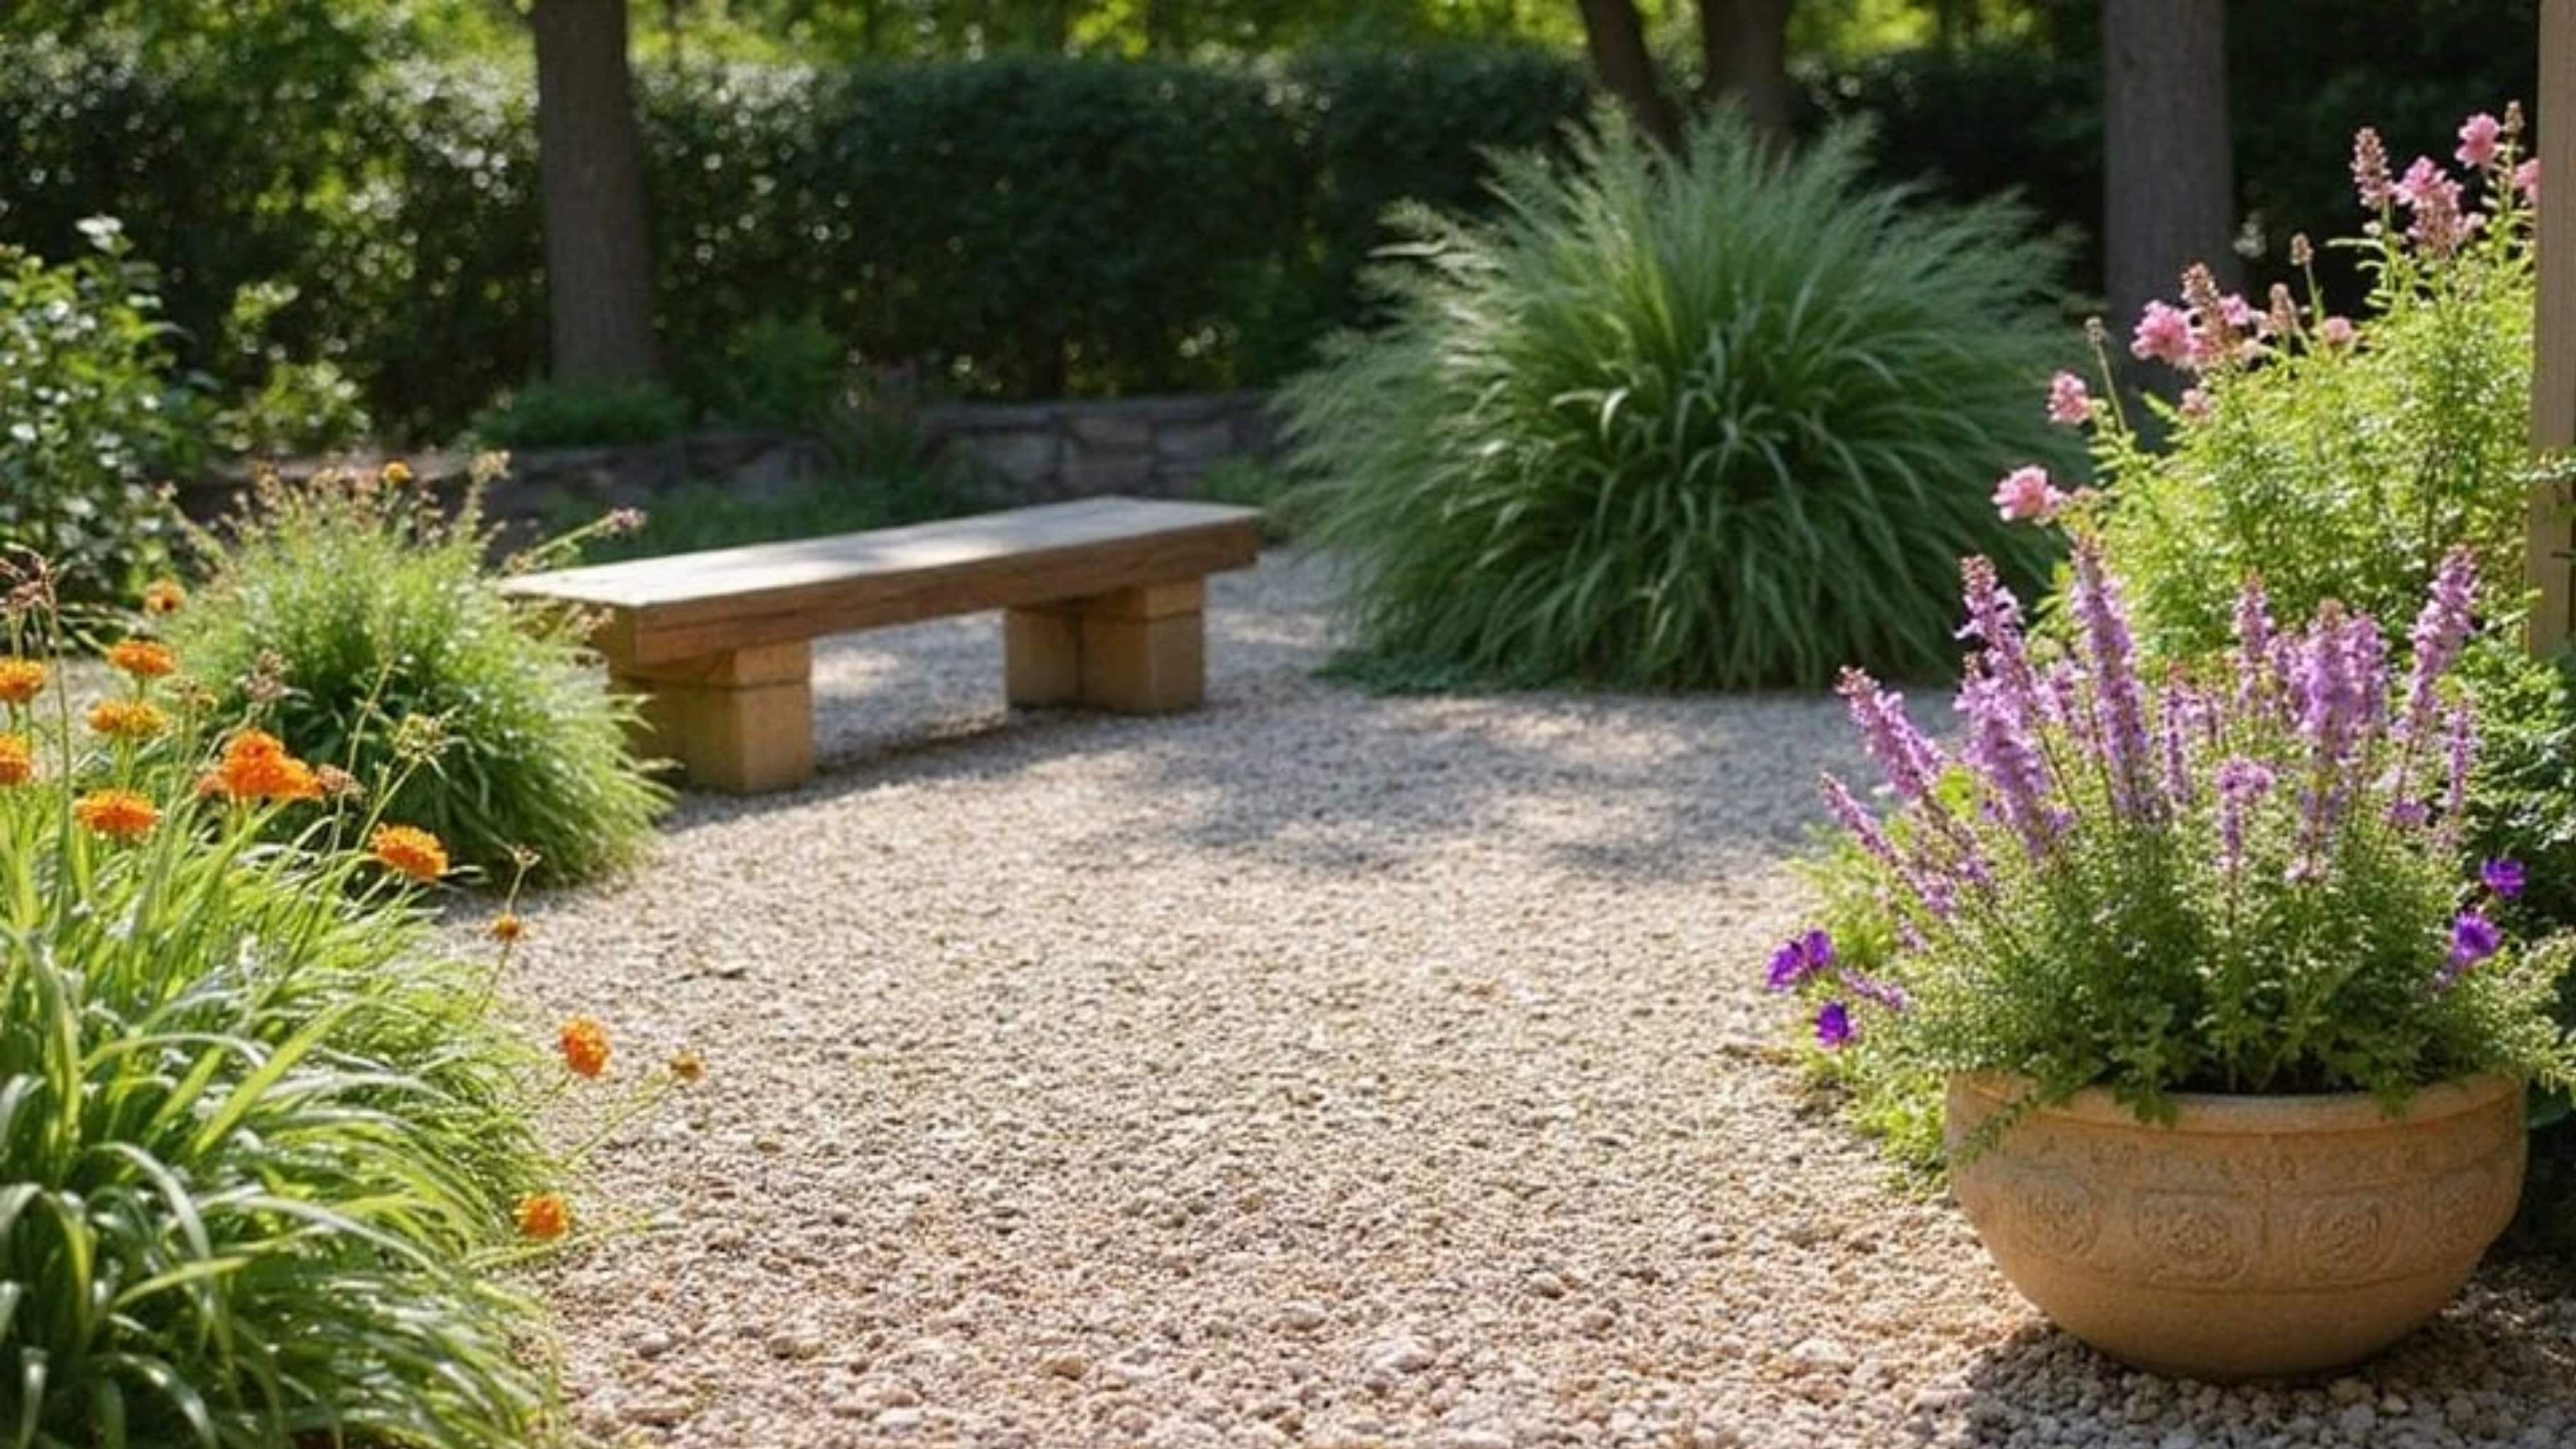
If your yard needs pathways, skip the harsh concrete pavers. Loose, pale pea gravel underfoot softens a landscape beautifully. Because there are no rigid borders, native plants will naturally self-seed right into the edges of the gravel over time. This allows your pathways to seamlessly blend into the planting rather than dividing it.
Choosing the Best SoCal Native Wildflower Seeds
To pull off this aesthetic successfully in Southern California, your choice of seed matters immensely. The entire philosophy relies on choosing plants that are naturally adapted to our local microclimates so they can thrive, compete with local weeds, and self-seed year after year without heavy human intervention.
Using generic “wildflower mixes” from big box stores often introduces aggressive, non-native species that either die out quickly or become an invasive headache. Instead, matching your seeds to your specific SoCal zone ensures a resilient, self-sustaining ecosystem that looks effortlessly beautiful.
Here is a breakdown of the best native California seeds for your specific neighborhood:
| SoCal Microclimate | Landscape Traits | Best Native Picks for Chaos Gardening |
| Coastal Zones (e.g., Santa Monica, Newport Beach, San Diego) | Sandy soils, marine layer moisture, mild temperatures | Coastal Tidytips (Layia platyglossa), California Poppy (Eschscholzia californica var. maritima), Dune Sunflower (Helianthus debilis) |
| Inland Valleys (e.g., Pasadena, Riverside, San Fernando Valley) | Intense summer heat, low humidity, heavier soils | California Bluebell (Phacelia campanularia), Sky Lupine (Lupinus nanus), Desert Marigold (Baileya multiradiata) |
| Foothills & Chaparral (e.g., Sierra Madre, Santa Monica Mtns, Temecula) | Rocky, well-draining soils, hot, dry summers, cold winters | Mountain Garland (Clarkia unguiculata), Common Yarrow (Achillea millefolium), Bird’s Eye Gilia (Gilia tricolor) |
3 Pro-Tips for SoCal Chaos Seeding
Because our Mediterranean climate dictates how seeds behave, a few adjustments to the planting process will yield much better results:
- Time It with the Winter Rains: In Southern California, the absolute best time to broadcast your chaos seed mix is between late autumn and early winter (November through January), right before an anticipated rainstorm. The natural precipitation presses the seeds into the dirt and kicks off the winter germination cycle needed for a spectacular spring bloom.
- Anchor with Native Perennial Shrubs: A pure wildflower mix will look stunning in spring, but can dry out during our brutal late summers. To keep the yard looking structured and intentional year-round, scatter your seeds around established native “anchor” shrubs like California Sagebrush (Artemisia californica), White Sage (Salvia apiana), or California Buckwheat (Eriogonum fasciculatum).
- Stop Deadheading to Allow Reseeding: The magic of the chaos garden is that it pays dividends next year. Once your spring flowers fade, resist the urge to trim them down. Allow the flower heads to dry out completely on the stem. They will naturally drop their seeds into the soil, creating a thicker, even more beautiful display when the rains return the following winter.
Why This Trend is Perfect for SoCal Homeowners
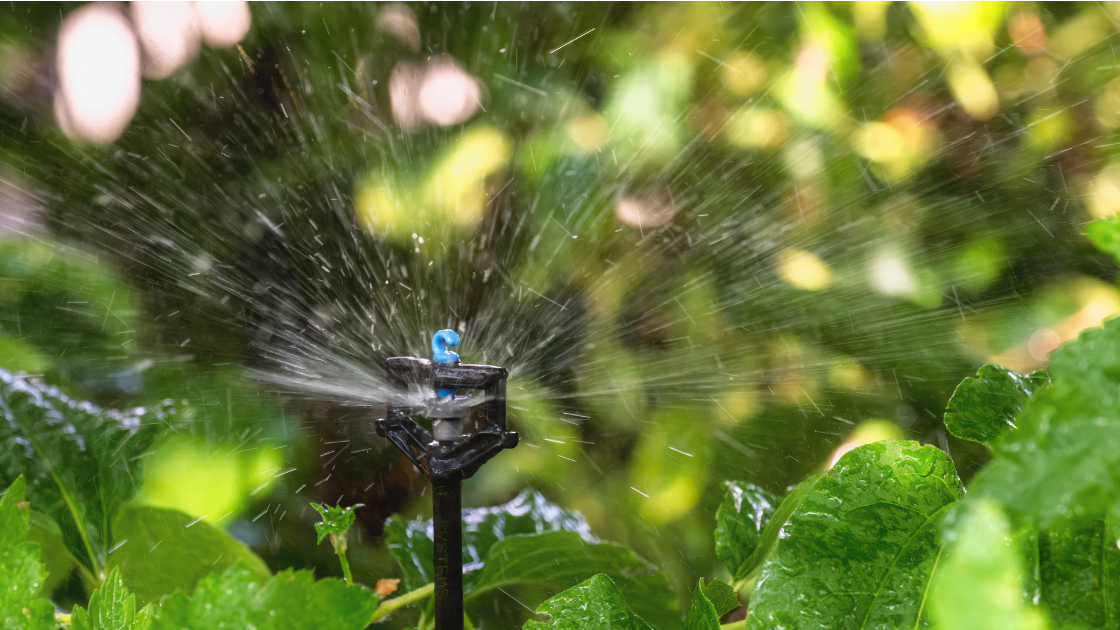
Beyond its undeniable beauty, embracing this aesthetic comes with major practical perks. For one, it is a massive time, water, and money saver. Because these plants are native and self-seeding, they require a fraction of the irrigation of a traditional lawn once they establish themselves.
Furthermore, today’s Southern California homebuyers are actively searching for sustainable, drought-tolerant, eco-conscious home features. A yard that actively supports local biodiversity while drastically reducing water waste is a fantastic selling point that adds unique, unforgettable character to your property. If you are prepping your home for the market, explicitly highlighting that the landscape features “certified Southern California native plants” is an excellent way to capture the attention of modern buyers who want maximum curb appeal with minimal weekend yard work.